Why change your bike pedals?
Changing bike pedals means unscrewing each pedal from its crank arm with a pedal wrench or an Allen key, cleaning and greasing the threads and fitting the new pair, remembering that the left pedal has a reverse thread. Not sure where to start? You're in the right place. In this step-by-step guide we show you how to change bike pedals quickly and easily, whether you need replacement bike pedals for a worn-out pair or simply want to refresh the look of your bike.
Pedals are a fundamental part of the bike: they're the direct link between your legs and the wheels. Over time they can wear, become less efficient or even get damaged. These are the reasons to change them in good time:
- 01Wear. With use, pedals wear down, lose grip or even get damaged, and stop doing their job the way they did on day one.
- 02Performance. New pedals make your pedaling more efficient, because the power from your legs reaches the wheel better.
- 03Comfort. You gain comfort on the bike and your foot sits more securely on every pedal stroke.
- 04Prevention. Changing them in time heads off future problems before they leave you stranded halfway through a ride.
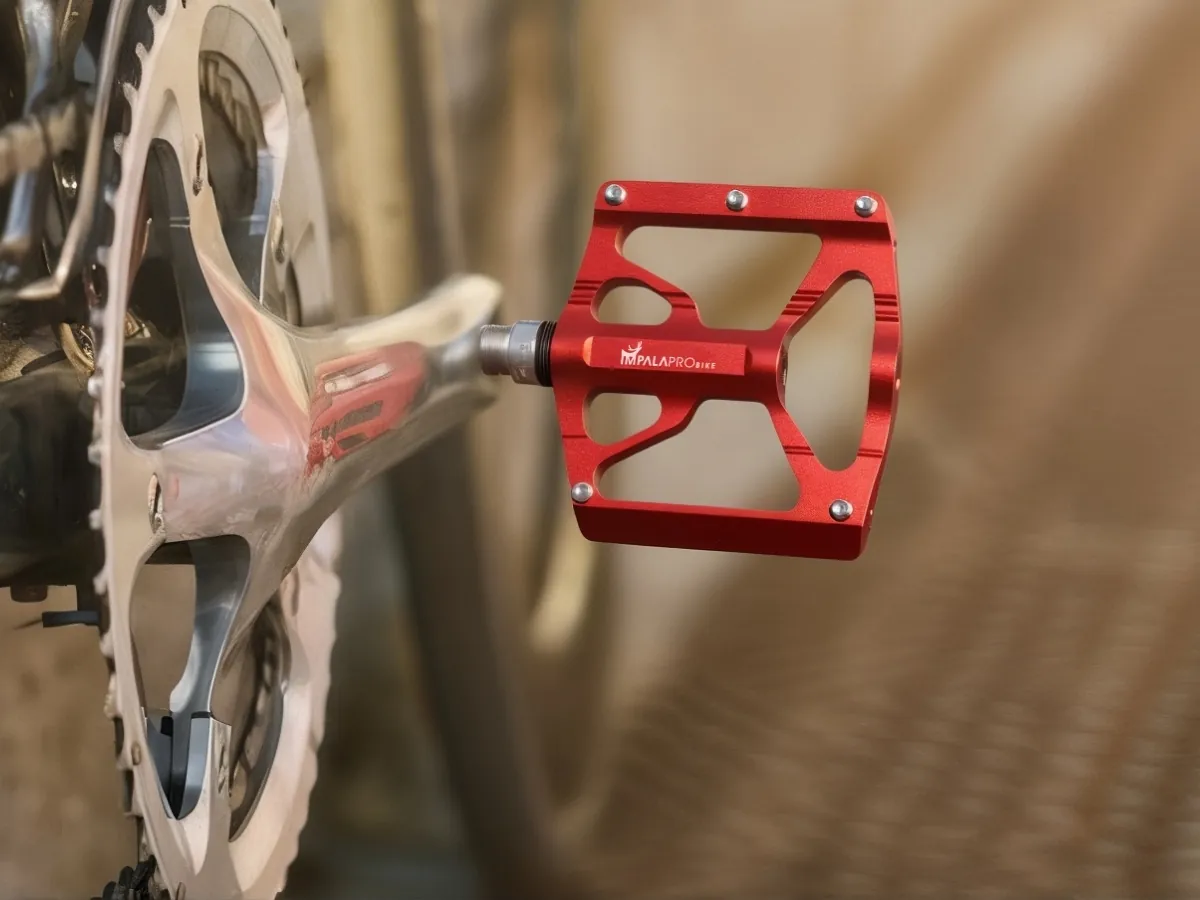
Tools you need: pedal wrench, Allen key and grease
Before you start, make sure you have these tools to hand:
- 01Adjustable wrench. To loosen and tighten the pedal at the base of the axle.
- 02Hex key or Allen key. The right size for the pedals on your bike.
- 03Grease. Bearing grease or a bike-specific lubricant.
With these tools at your disposal, you're ready to change your pedals without any hassle.
Step 1: prepare the bike
Before you start changing the pedals, it pays to prepare your bike and the place where you are going to work:
- 01Work area. Find a flat, safe area to work on your bike.
- 02Light. Make sure you have enough light to see clearly what you're doing.
- 03Stand. If you have a bike stand, use it to hold the bike steady throughout the whole job. If you don't have one, lean it against a wall or ask someone to hold it.
- 04Not upside down. Turning the bike upside down is not recommended for this job.
With the bike prepared, it's time to move on to the next step.
Step 2: remove the old bike pedals
The first step in changing bike pedals is taking off the old ones. Watch out: each side is threaded in a different direction.
- 01Identify the right and left pedal. Remember that the right pedal has a clockwise thread, while the left one has a counterclockwise thread (reverse thread).
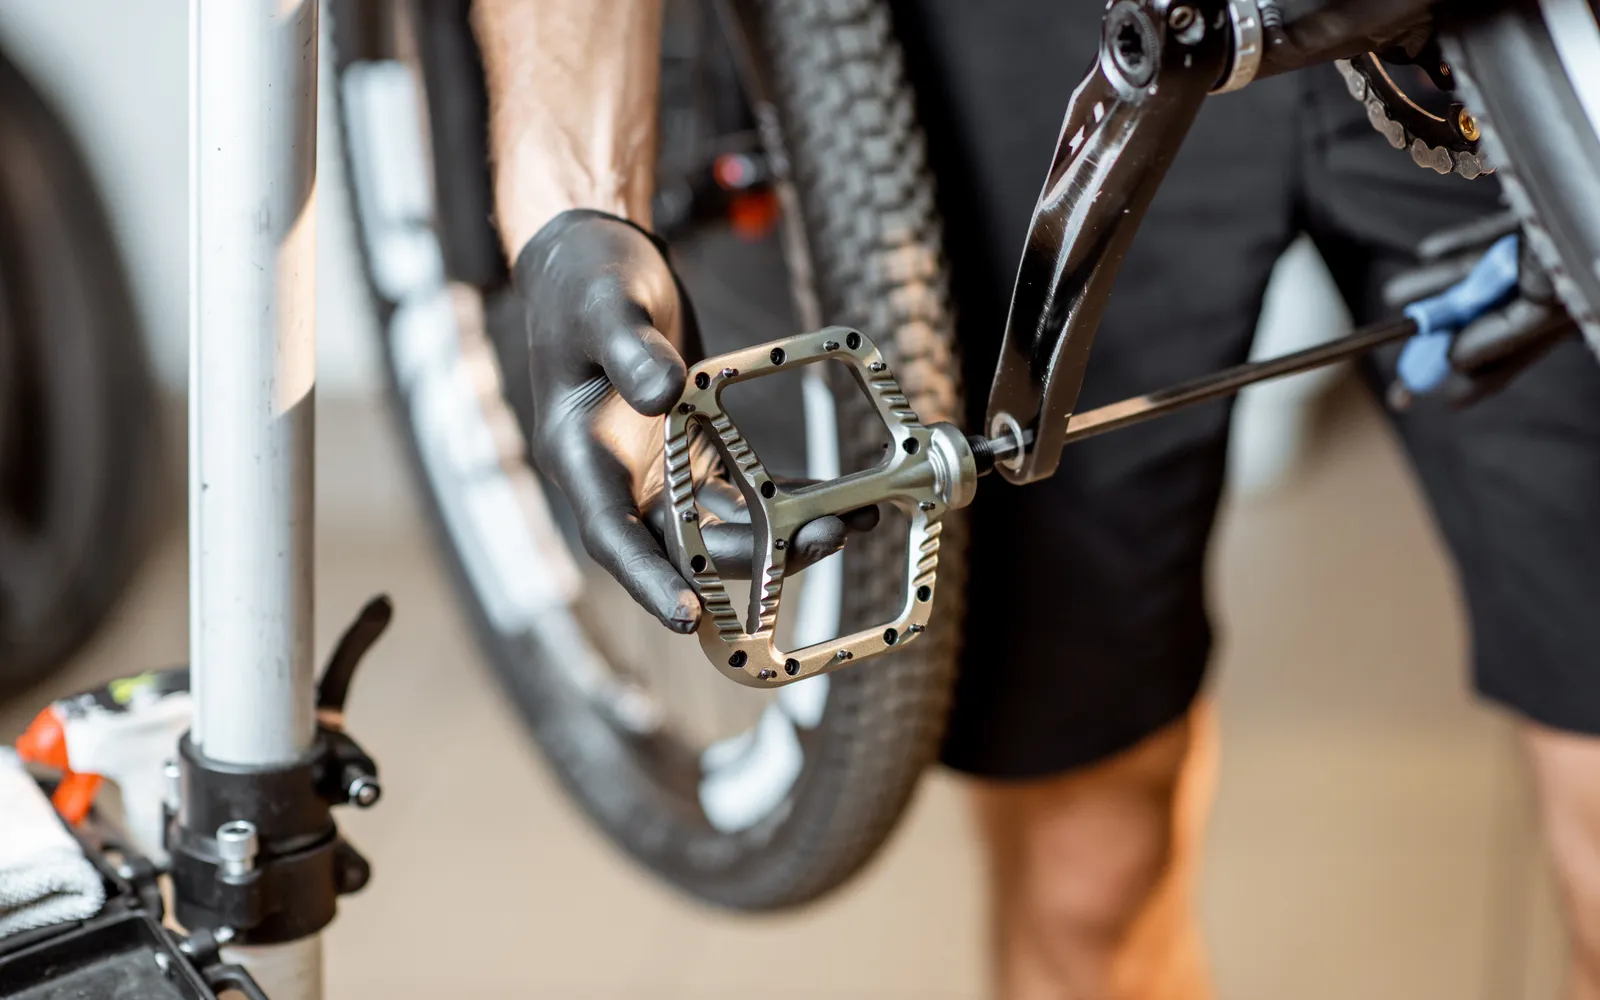
- 02Loosen with the wrench. Use the adjustable wrench, an open-end wrench or an Allen key, whichever you prefer, to loosen the pedal at the base of the axle. Turn counterclockwise to loosen the right pedal and clockwise to loosen the left one.
- 03Remove the pedal. Once it's loose, finish unscrewing it by turning in the same direction. It may take a bit of force, but avoid applying too much pressure so you don't damage the pedal thread.
Repeat these steps to remove both pedals from the bike.
Step 3: clean and grease the threads
Once the old pedals are off, it is a good idea to clean and grease the crank arm threads so the new ones fit properly. Follow these steps:
- 01Clean. With a clean rag, remove any dirt or residue from the crank arm threads.
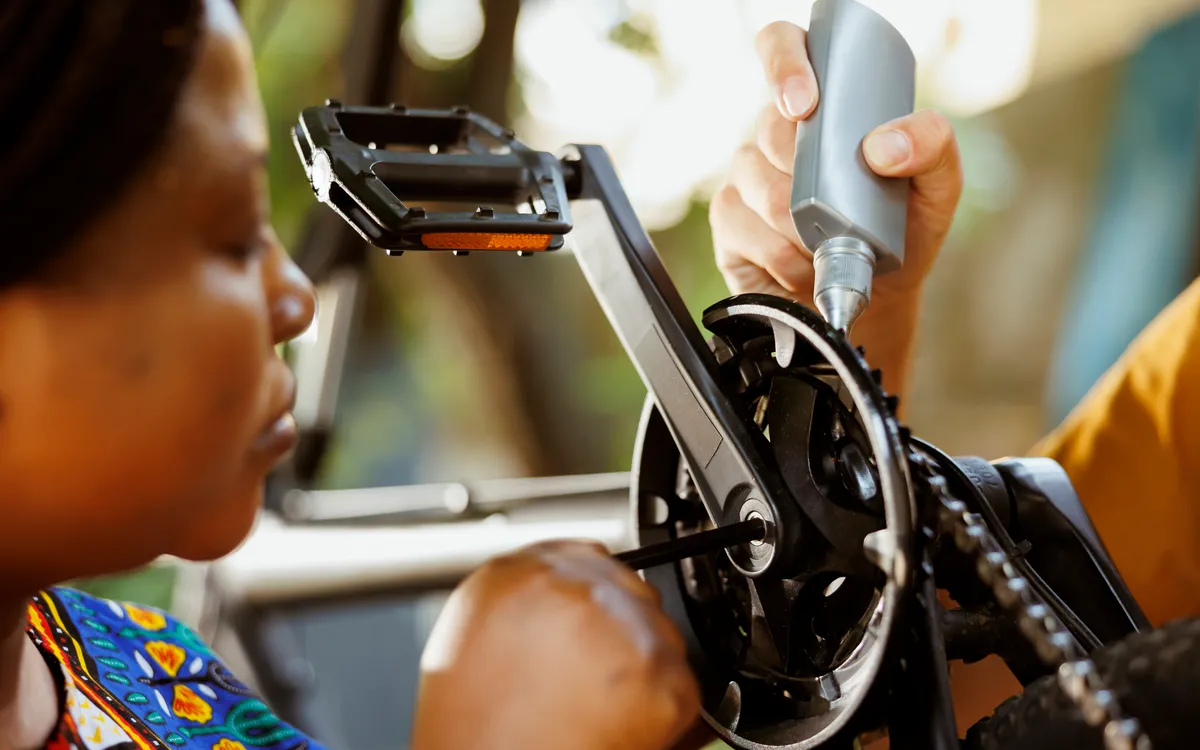
- 02Lubricate. Apply a small amount of bearing grease or bike-specific lubricant to the crank arm threads. This prevents corrosion and makes fitting the new pedals easier.
Step 4: fit the new pedals
Now it is time to fit the new pedals to your bike. Follow these steps to do it properly:
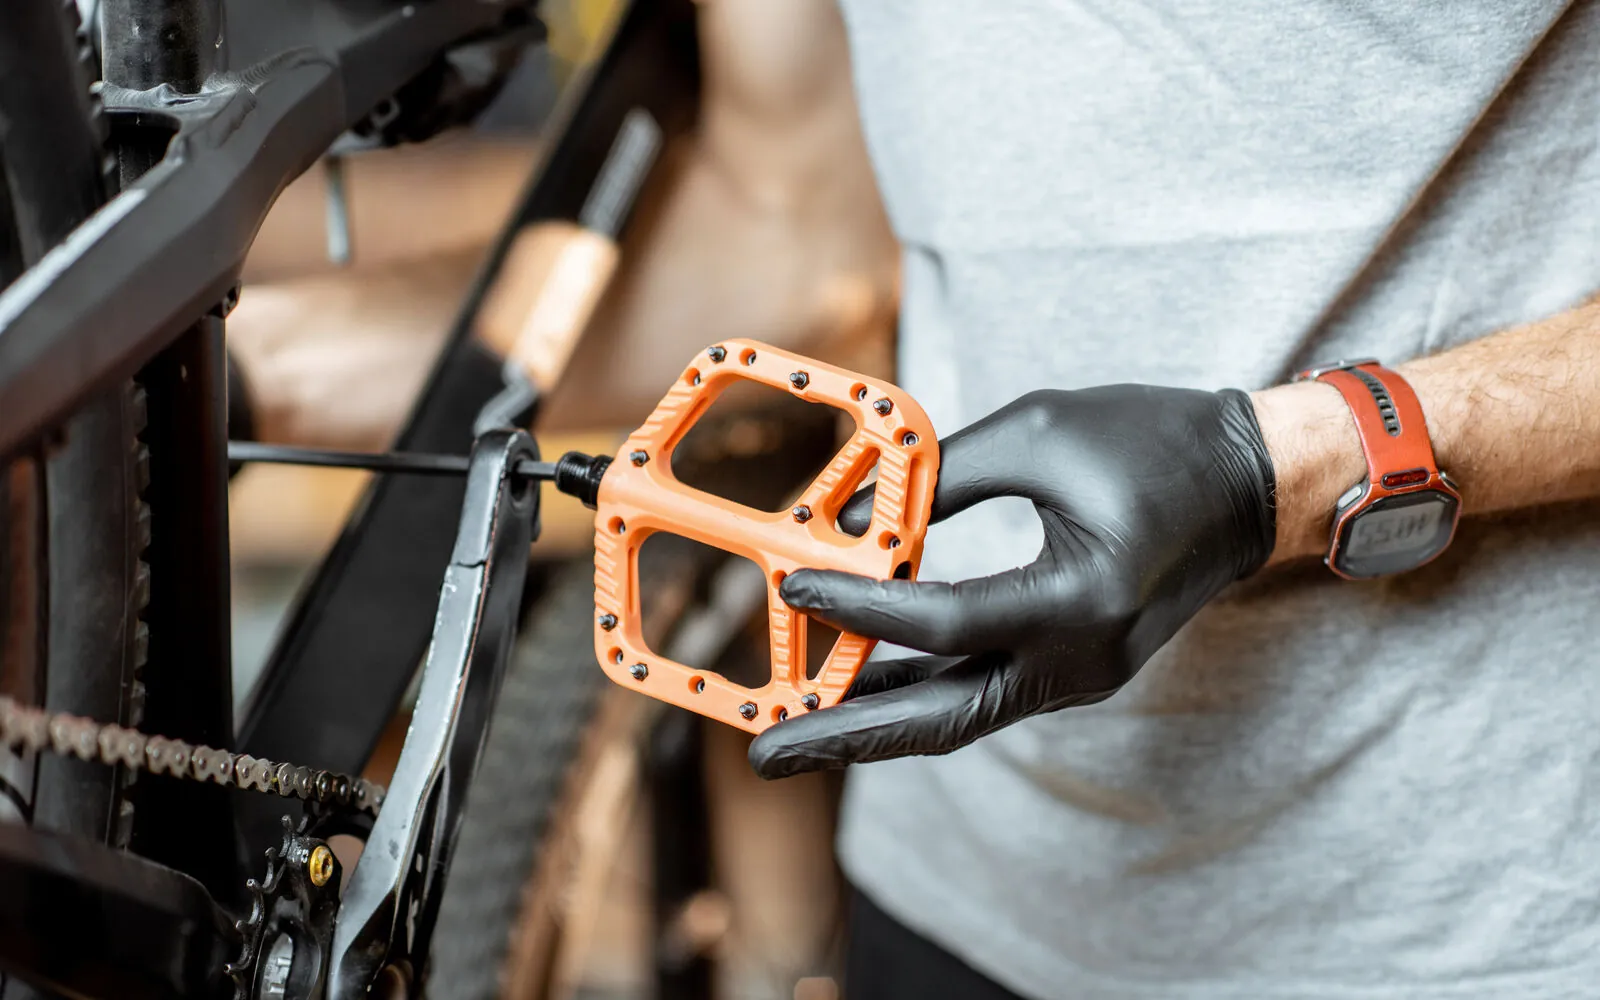
- 01Identify each pedal. Make sure you have the right and left pedal, each for its own side; they are usually marked with the letters "L" (left) and "R" (right).
- 02Fit the right pedal. Place it in the right crank arm and screw it in clockwise. Use the adjustable wrench or the 6 Allen key to tighten it securely. Avoid using too much force so you don't damage the threads.
- 03Fit the left pedal. Repeat the same process with the left pedal, but screwing it in counterclockwise.
- 04Clipless or dual-sided. Set the cleat release tension correctly so it unclips to suit your needs and experience, much softer when you're starting out and firmer if you're experienced and need more power or a more secure hold on difficult terrain. Also position the cleat properly on your cycling shoe to suit your needs.
Once the new pedals are fitted and adjusted correctly, you'll have successfully changed the pedals on your bike.
Check the new bike pedals are fitted properly
Changing bike pedals is a simple job you can do yourself with the right tools and by following the steps in this guide. Before calling it done, run through these points:
- 01No play. Check that the pedals are securely fitted and don't move.
- 02Retighten if needed. If you notice any movement or play, tighten them a little more until they are firm.
- 03Take care. Take precautions, prepare the bike properly and follow the fitting instructions so the change goes smoothly.
- 04If in doubt, see a bike shop. If you have any doubts or don't feel confident doing the job, it's best to go to a bike workshop or an expert so they can change the pedals properly.
Frequently asked questions
Not necessarily. The basic tools are an adjustable wrench or an open-end wrench and a hex or Allen key of the right size (usually a 6) for the pedals on your bike. Some bikes may call for specific tools, so it's worth checking the owner's manual.
The timing can vary depending on wear and use. Even so, if you notice excessive play, noises or find it hard to get your feet set on the pedals, it's probably time to replace them.
Yes. The 9/16" thread is the most widespread standard and the one you'll find on most bikes. Almost all flat, clipless and semi-clipless pedals share it, so you shouldn't have any problem. Clipless pedals give a more secure connection between your feet and the pedals, which can improve pedaling efficiency and comfort. Just make sure you choose a pair that is compatible with your cleat system and your shoes.
It's uncommon, because the crank arm is built to withstand a lot of pressure: it's the engine of your bike. Even so, it's important to tighten the pedals with the right amount of force. Too loose and they can work loose while you ride; too tight and they can damage the threads on the pedal or the crank arm. Make sure they are secure and properly tightened and, if you don't feel comfortable doing it, go to a professional bike mechanic.
A popular option is clipless MTB pedals, which offer good grip and pedaling efficiency. You can also consider dual-sided MTB pedals, with a flat platform on one side and a clipless mechanism on the other, which give you versatility for different riding styles.
Yes, you can. Bear in mind, though, that standard pedals don't give the same level of grip as dedicated mountain bike pedals, so they may be less efficient on technical terrain.
It's a relatively quick and simple process. Generally, changing both pedals takes between 10 and 15 minutes, as long as you have the right tool and follow the steps correctly.
Yes, it's advisable to grease the pedal thread before screwing it into the crank arm. It helps prevent corrosion and makes it easier to remove in the future.
Place the cleats in the position you want on the sole, lined up with the front of the shoe and level. Then adjust their side-to-side position to suit your comfort: slide them inwards or outwards until you find the position that gives you good foot alignment and an efficient pedal stroke. Also adjust the angle of the cleats relative to the shoe. Some riders prefer them perfectly parallel and others want them angled slightly inwards or outwards; try different angles until you find the most comfortable and efficient one. Once you have the position, tighten the fixing bolts with the right tool. They should be secure, but don't overdo it, because you could damage the sole. Cleat setup varies with each rider's preferences, so test and fine-tune over your first few rides until you find the setup that gives you comfort, efficiency and good performance.
Use a wrench with an extension tube to get more leverage so you can apply more force. Always turn in the loosening direction for each side: the right pedal counterclockwise and the left one, which has a reverse thread, clockwise. A trick so you don't get it wrong: with the wrench above the axle, on both sides you loosen by turning toward the back of the bike.
Most road bikes are designed to be compatible with standard road bike pedals. Even so, check the thread type and the fitting system on the crank arms to make sure they are compatible with the pedals you want to fit.
The price varies by brand, model and materials. On Amazon.com, the best-selling MTB pedals cost roughly $10 to $30, while high-end flat and clip-in pedals go past $100, depending on your needs and your budget.
Clean them regularly with water and mild soap, and dry them completely. Check them for wear or damage and replace them if necessary. Grease the pedal threads to prevent corrosion and carry out the maintenance the manufacturer recommends. Our complete pedal maintenance guide takes you through it step by step.
Most adult bikes use the standard 9/16" pedal thread, so 9/16 bike pedals fit almost any mountain, road or hybrid bike with a three-piece crankset. Some kids' bikes, BMX and cruisers with one-piece cranks use 1/2" pedals instead: check your cranks before you buy.