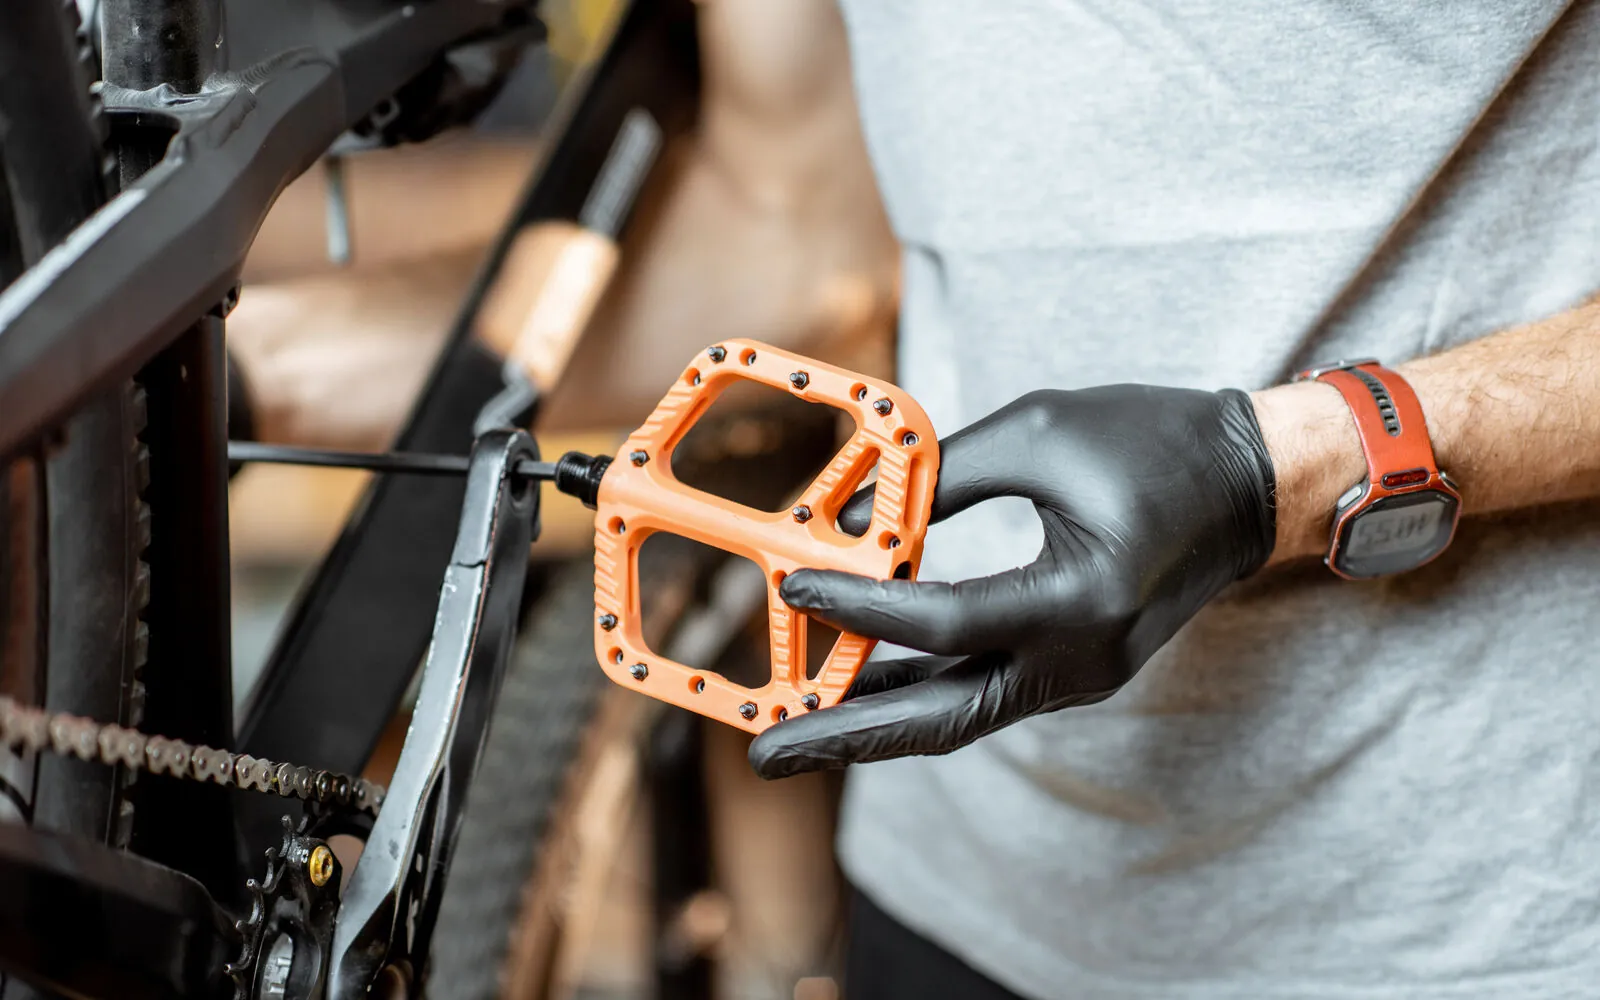
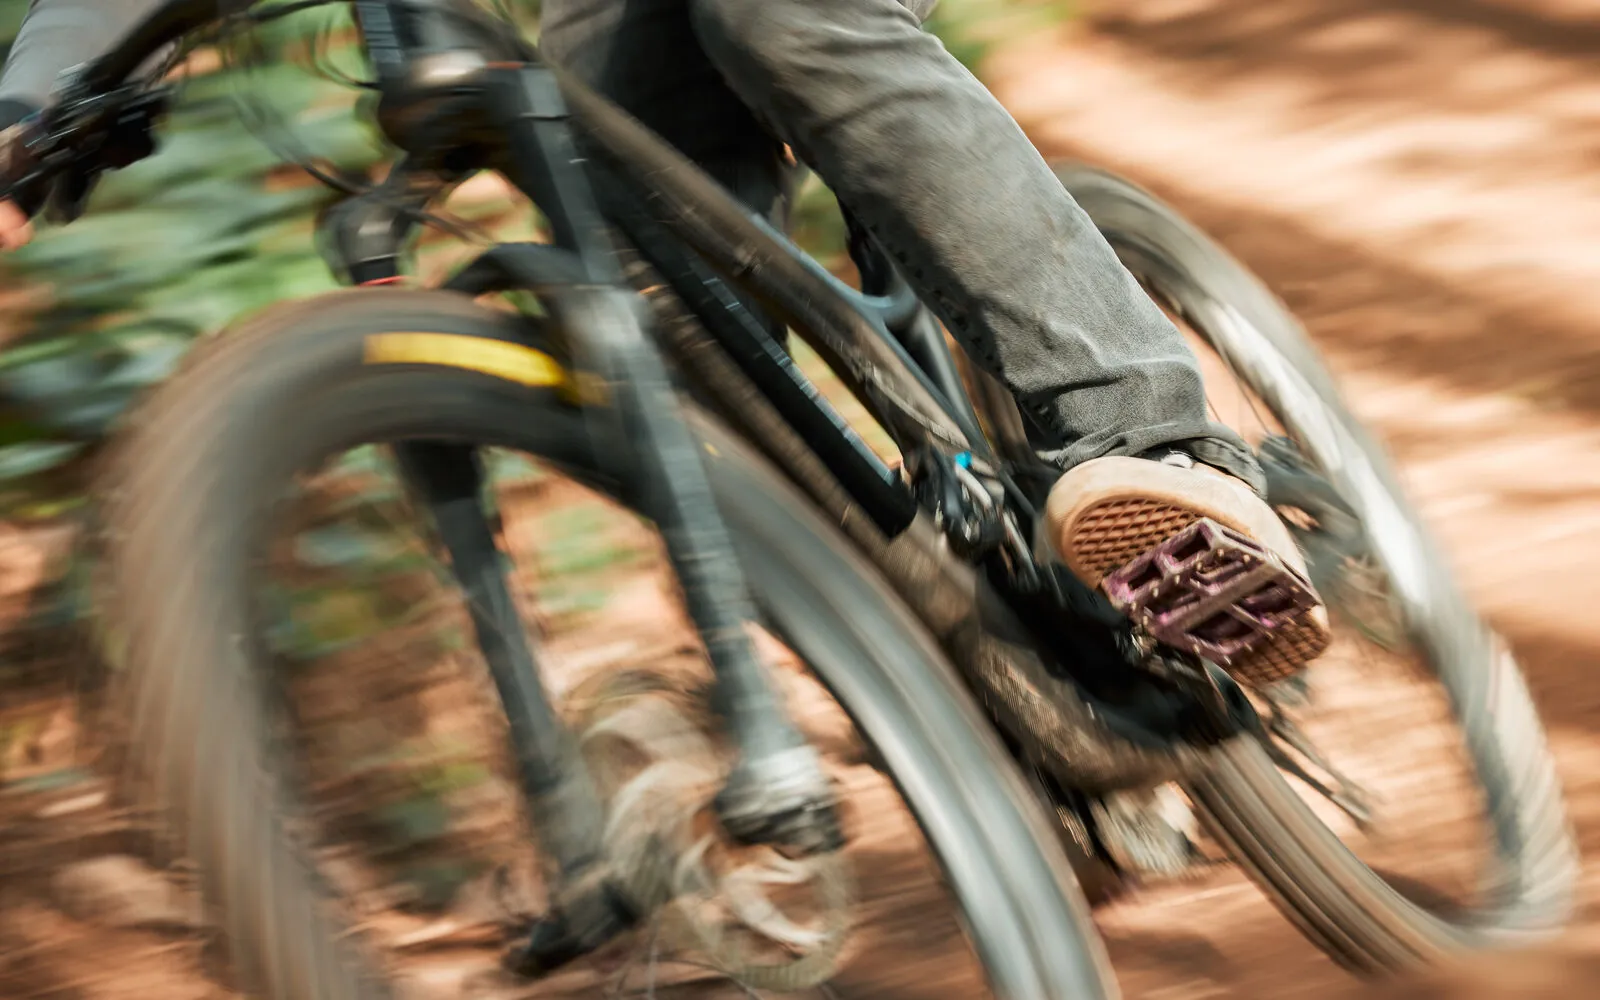
What makes an enduro pedal special
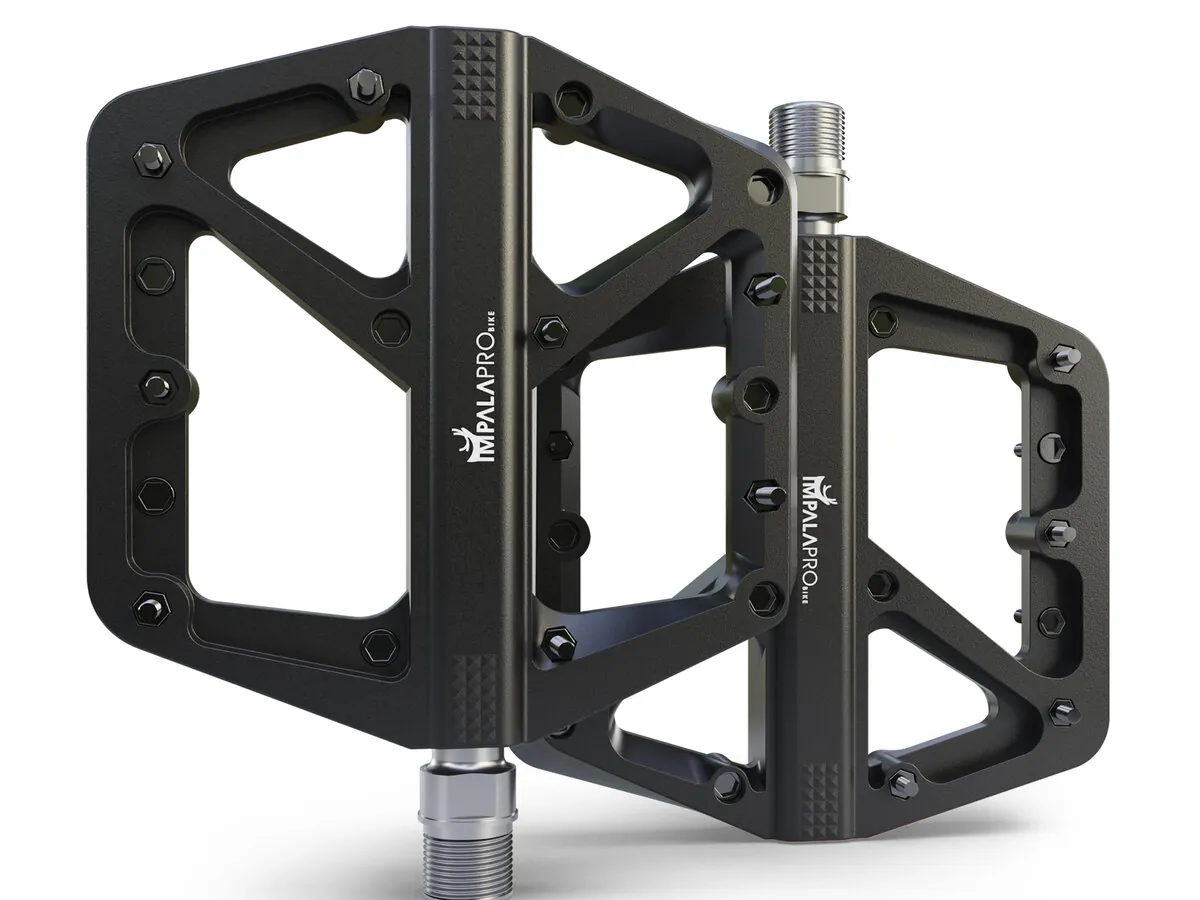
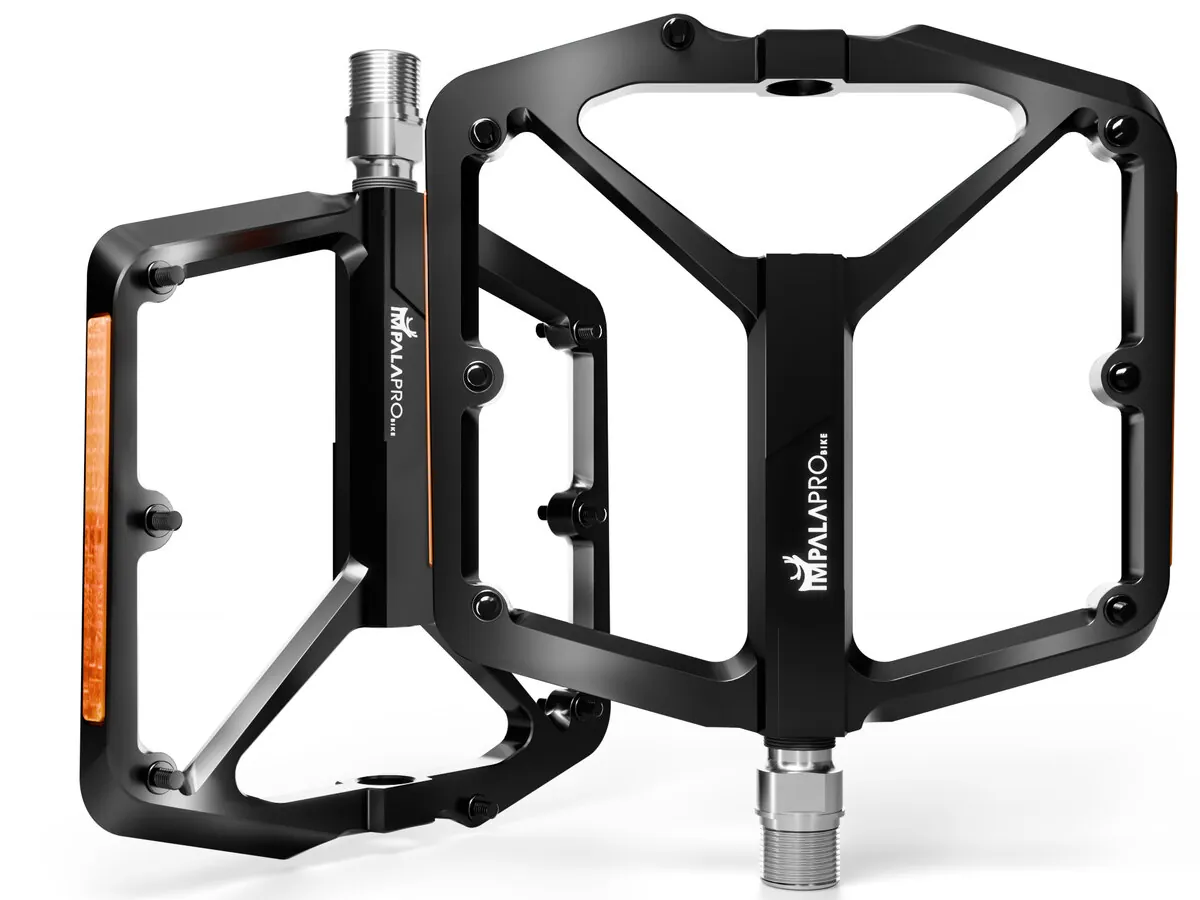
Enduro MTB pedals are reinforced flat pedals: a wide platform with adjustable pins and sealed bearings, built to grip on technical climbs and descents and to let you put a foot down instantly. They are a key part of the gear for any rider in this discipline. They are built to perform on broken, demanding terrain, with maximum traction and stability. In this guide we look at their design and features, how to choose the best ones for you and how to look after them.
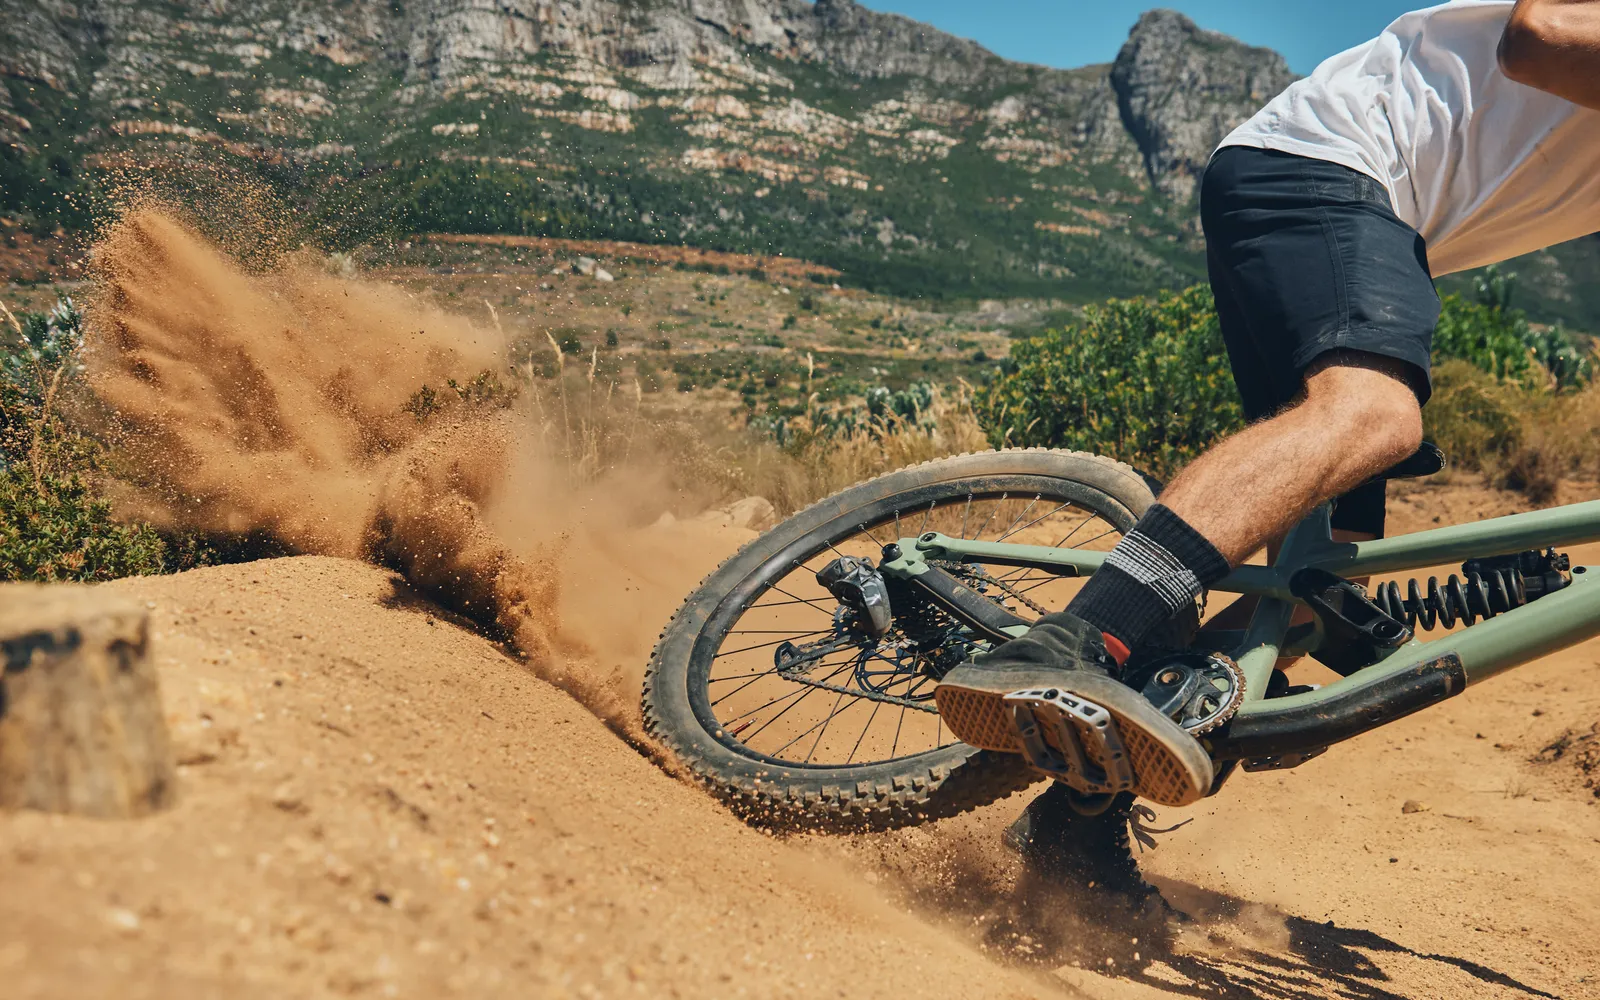
Enduro combines climbs and descents on tricky, steep trails. To clear obstacles and keep a solid connection with the bike, you need a pedal that gives you confidence and control. Its two hallmarks are freedom of movement and stability.
That is why an enduro pedal is really a reinforced flat pedal: wider, grippier and tougher against impacts than a standard platform pedal. Hence they are also called enduro flat pedals or enduro MTB platform pedals. The idea is to connect your foot firmly to the bike without tying it to it.
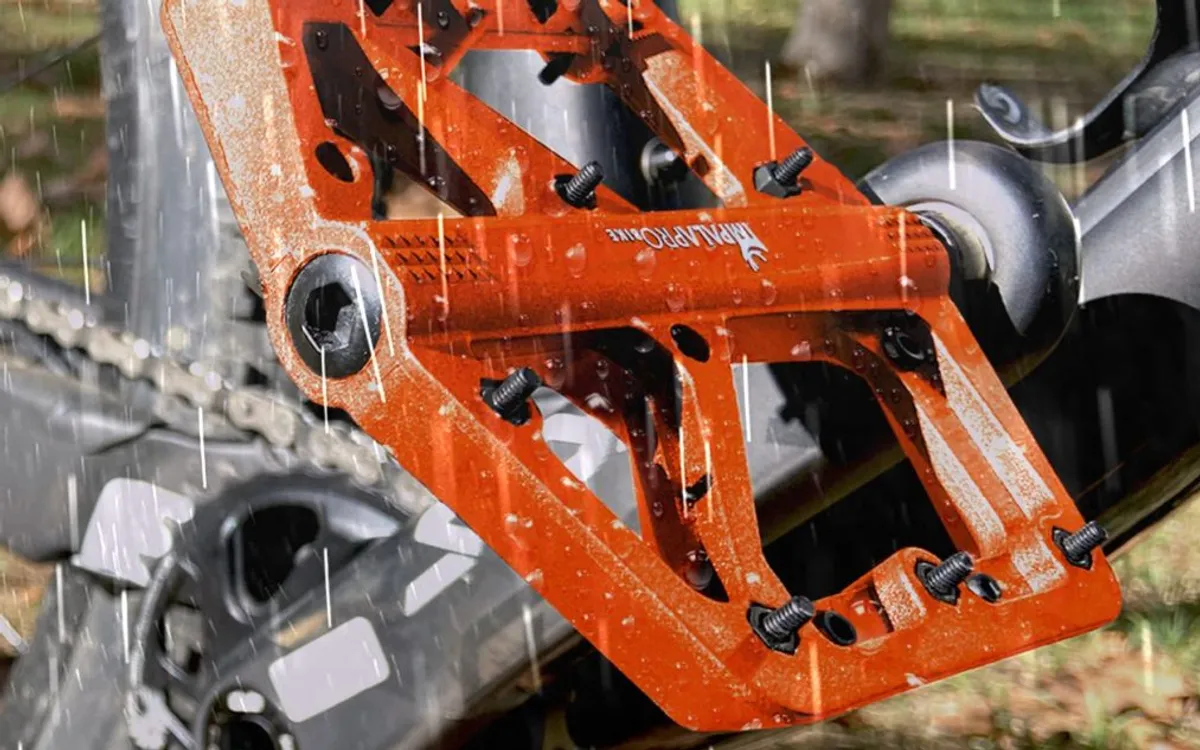
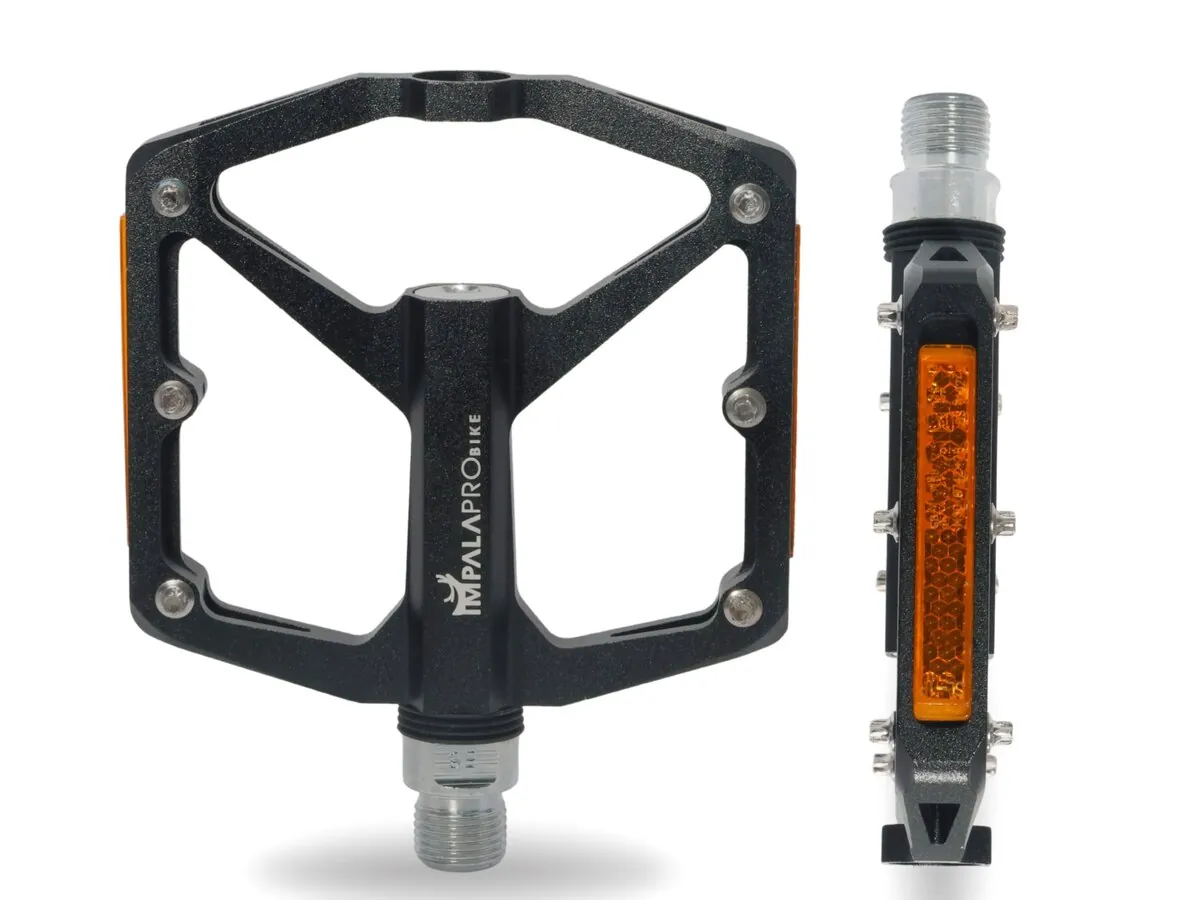
- 01Wide, tough platform. More contact surface than a conventional pedal. It gives you more stability and a solid base to transmit the force of every pedal stroke, on long descents too.
- 02Adjustable pins. Usually replaceable. They can be swapped or adjusted in height for more or less grip depending on your preferences, the terrain and your sole.
- 03Tough body. Durable materials that take hits against rocks and roots, and the extreme conditions typical of enduro, without bending.
- 04Sealed bearings. Many models have them. They protect the internal mechanism from dirt and water: the pedal keeps spinning smoothly for much longer and lasts longer.
Why flat pedals and not clipless
On technical terrain, being able to take your foot off instantly gives you a lot of confidence. These are the advantages you notice most when using flat pedals for enduro.
- 01Freedom of movement. With no cleats, you move your foot and change position in a second, whatever the terrain asks for.
- 02Easy from day one. Ideal if you are starting out or do not yet feel comfortable with cleats. There is no clipping in and out to learn, and your foot goes on and off quickly.
- 03Stability and traction. The wide platform and the pins bite into the sole and keep you in control even in broken sections and on steep descents.
- 04Any footwear. They work with flat MTB shoes, cycling shoes or sneakers.
- 05Pedaling efficiency. A solid connection between foot and pedal transmits power better, and you feel it in acceleration and speed.
- 06Durability. Tough materials that withstand impacts and extreme conditions without losing function. They also have fewer moving parts than a clipless pedal and nothing to clog up with mud.
How to choose enduro MTB pedals
If you are torn between two enduro flat pedals, compare these points. In this order.
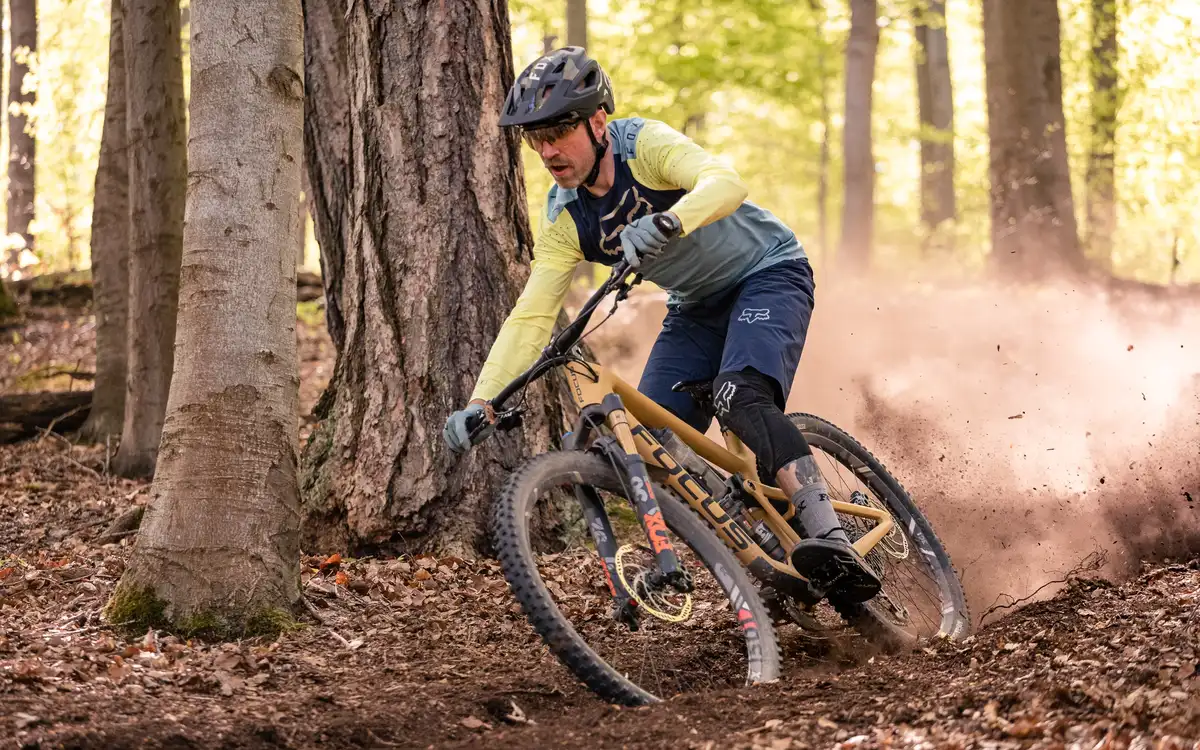
- 01Platform size. Wide enough to give you stability and comfort on long rides. For enduro, the wider the better: from around 100 mm across, your foot sits stable.
- 02Pins and adjustable traction. Removable and replaceable, and even better if you can adjust their height to suit each terrain and your taste. Between 10 and 16 per side is the norm.
- 03Bearings. Sealed (or sealed + DU) to protect the internal mechanism from dust, water and mud, extend the life of the pedal and keep it spinning smoothly.
- 04Material and axle. Quality materials that withstand the knocks and wear of enduro. CNC aluminum for stiffness and weight; a Cr-Mo axle to take impacts.
- 05Compatibility with your shoes. Check that the pedal works well with the shoes you wear; a grippy sole gets the most out of the pins.
- 06Thread. 9/16" is the MTB standard: check it before you buy.
Basic maintenance
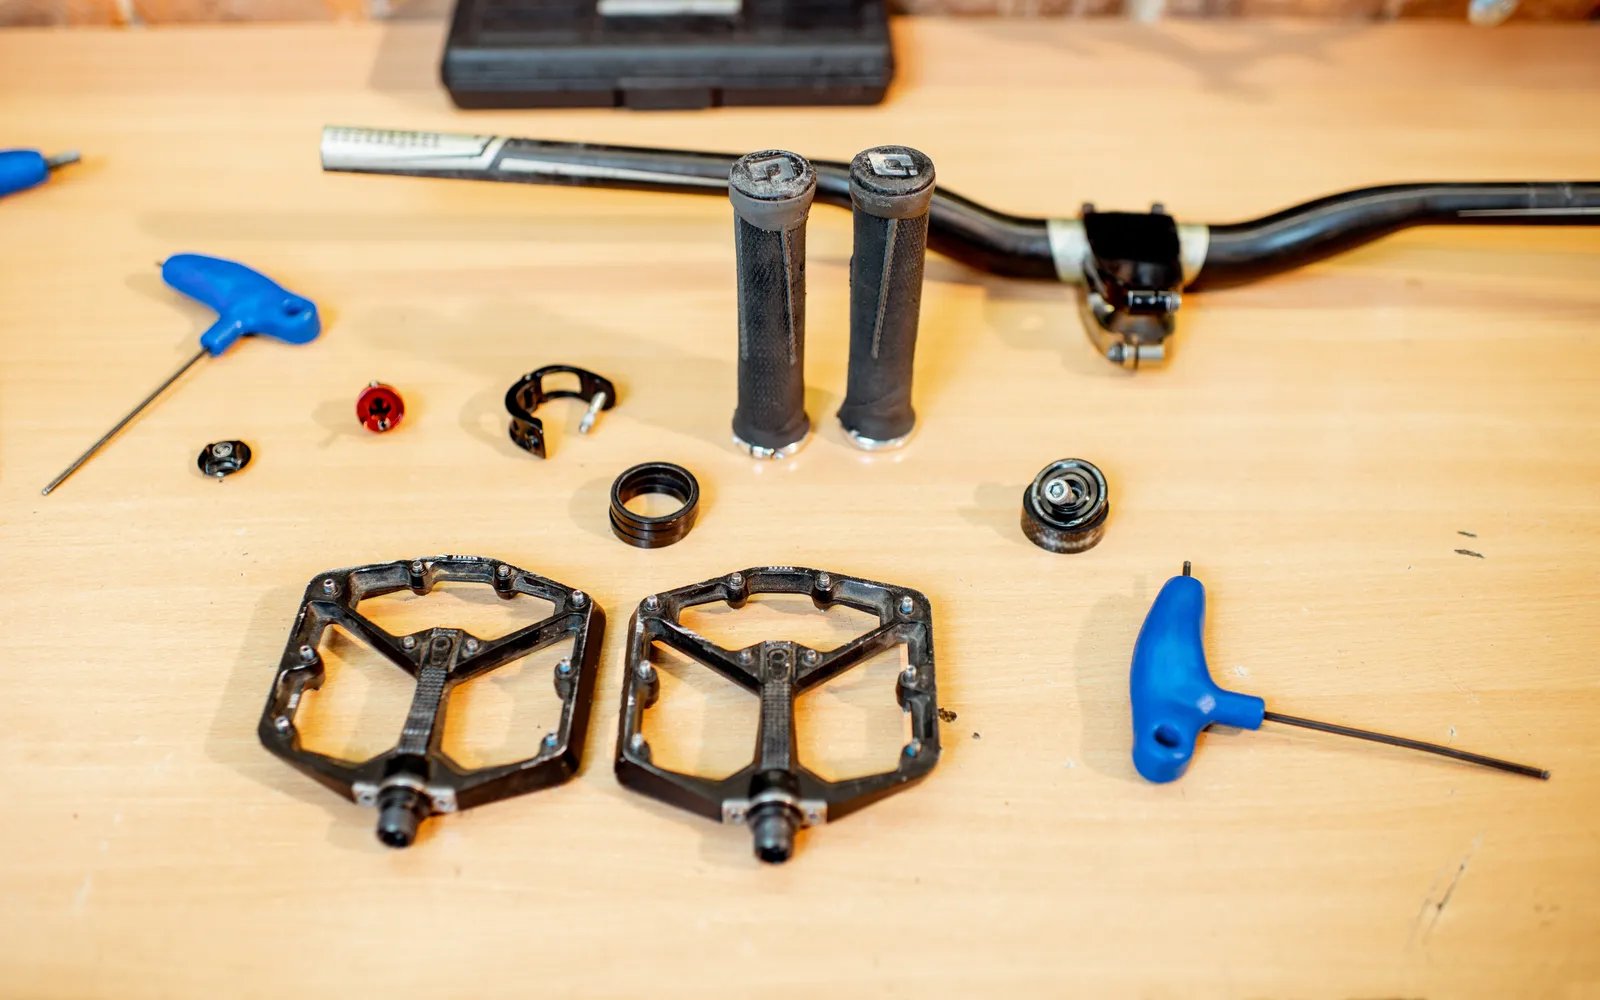
For your enduro pedals to perform at their best and last for years, give them proper maintenance. Five minutes after muddy rides goes a long way toward extending their life.
- 01Cleaning. After every ride, and especially if it was muddy, remove the dirt and debris that can affect how they work. Water and a brush, with no pressure washer on the axle.
- 02Lubrication. Lubricate the bearings as the manufacturer recommends so they spin smoothly and do not wear prematurely. Grease the thread when fitting them and check the axle if you notice it is not spinning smoothly.
- 03Pins. Check from time to time that they are tight, and replace any that are bent, damaged or worn.
- 04Play or noise. Usually a sign of worn bearings: time to check or replace them. If you are not sure, take them to a bike specialist to get it done right.
If you want to go deeper, we have a complete guide to bike pedal maintenance.
COMPLETE GUIDE TO PEDAL MAINTENANCEFrequently asked questions
An enduro flat pedal is a wide, flat surface where you rest your foot without cleats; a clipless pedal locks you to the shoe with a cleat that engages the pedal. Without a cleat you have more freedom of movement and reposition your foot faster, which you appreciate on technical, demanding terrain.
In the design and construction. The enduro pedal is made for technical, demanding terrain: a wider platform, more aggressive pins, more traction and a sturdier body that takes impacts better. A standard flat pedal is usually lighter and designed for more general use, without extreme terrain.
Yes: cross country, trail, all mountain or even downhill. Each discipline has its own needs: in cross country you may prefer lighter pedals or clipless ones. If you like riding different mountain bike styles, an enduro flat pedal is a very versatile choice.
No. Stiff-soled cycling shoes or sneakers with a grippy sole will do. Ideally go for a tough, non-slip sole that grips the platform well, and shoes that are comfortable and supportive on your rides. Flat-pedal MTB shoes work best.
On most models, yes; check the manufacturer's instructions to do it correctly. On each of our pedal pages we state what their pins are like.
It depends on the use, the maintenance and the quality of the pedal. Well looked after, they last several years of hard use.
Most commonly aluminum, steel or nylon fiber, which stand up well to the impacts and wear of enduro. Many have replaceable pins, usually steel or titanium, to grip on different terrain.
Slightly, because of their sturdy design and tough materials. The difference is not significant, does not affect performance much, and is more than made up for by stability and control.
It depends on you and the terrain. They should stick out just enough to grip well, without becoming uncomfortable or increasing the risk of injury. If the pedal allows it, adjust them to your style and the trail.
Yes, and for experienced riders too. The wide, stable platform gives confidence and control while you develop your technique on difficult terrain and, with no cleats, you can take your foot off instantly if something unexpected happens. Even so, every rider is different: some are more comfortable on clipless pedals. Choose the pedal that suits the way you ride and makes you feel safe.
No. They suit professionals and any enduro enthusiast, whatever their level, and improve control and the riding experience from the very first ride.
Yes. The sturdy design and wide platform give support and stability when landing jumps and on steep descents. And many have adjustable pins to add traction and control right at those moments.
Yes. They offer a flat, comfortable surface where you rest your foot without cleats. Very practical for getting around town or going for a ride: more freedom of movement and whatever shoes you like.
The ones that suit the way you ride, your needs and your budget. Many brands make flat pedals designed for enduro, IMPALAPRO among them. More than the brand, look for a wide platform, adjustable pins, durable materials and sealed bearings.