The benefits of correct bike pedal position and setup
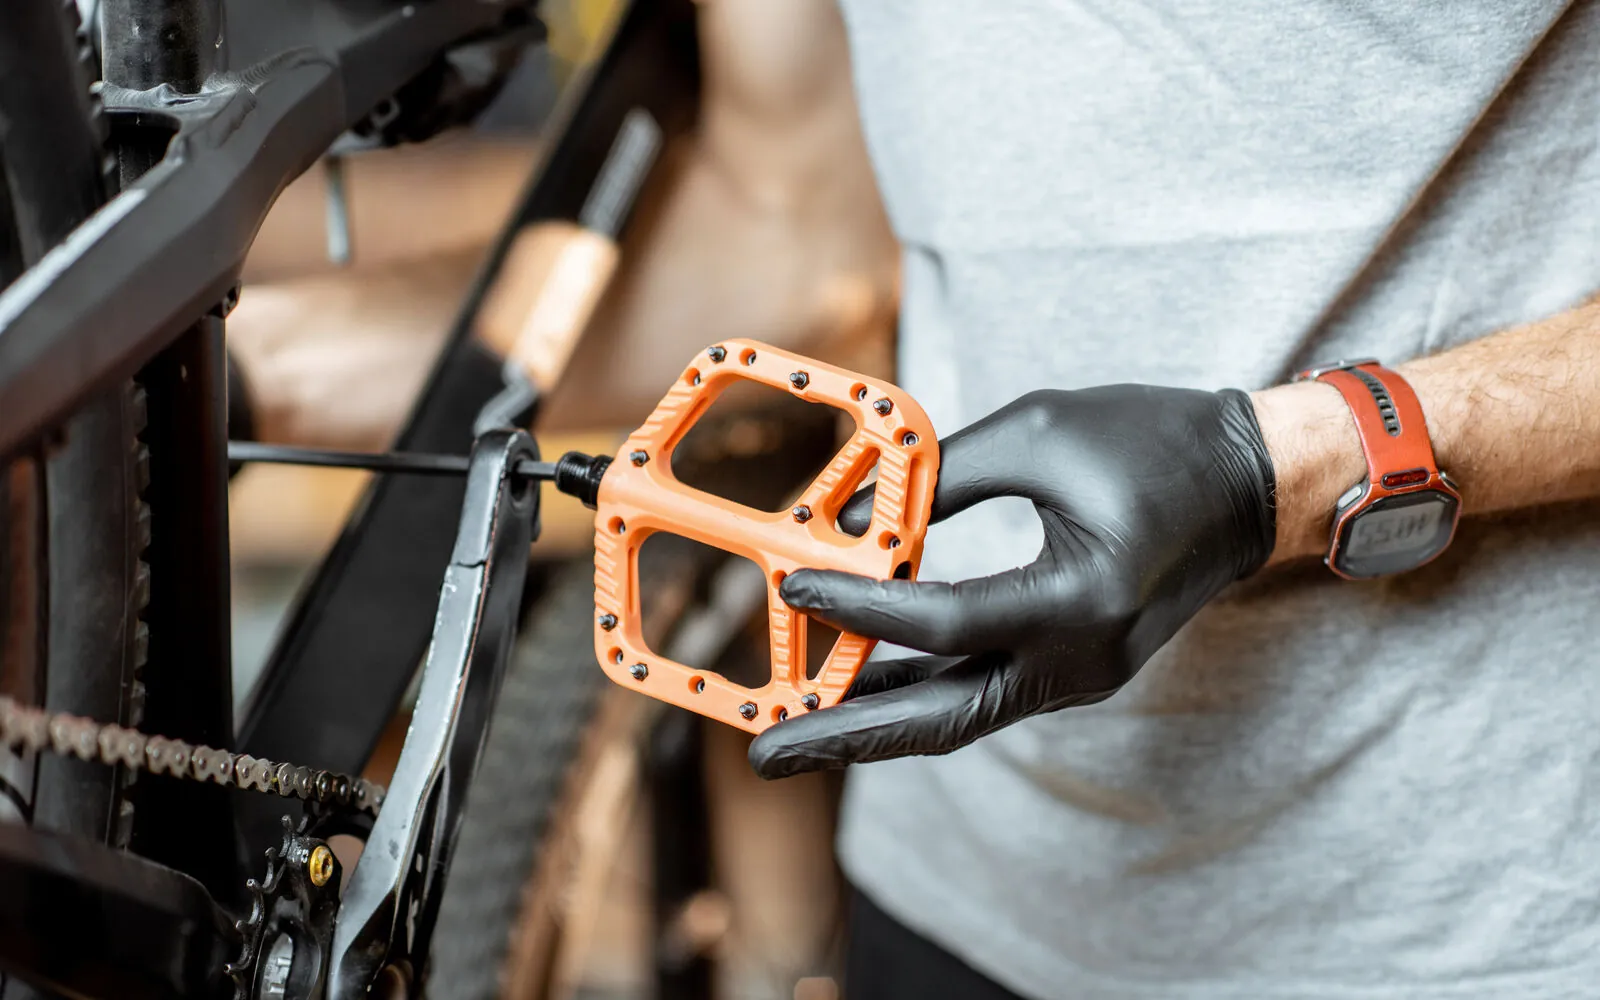
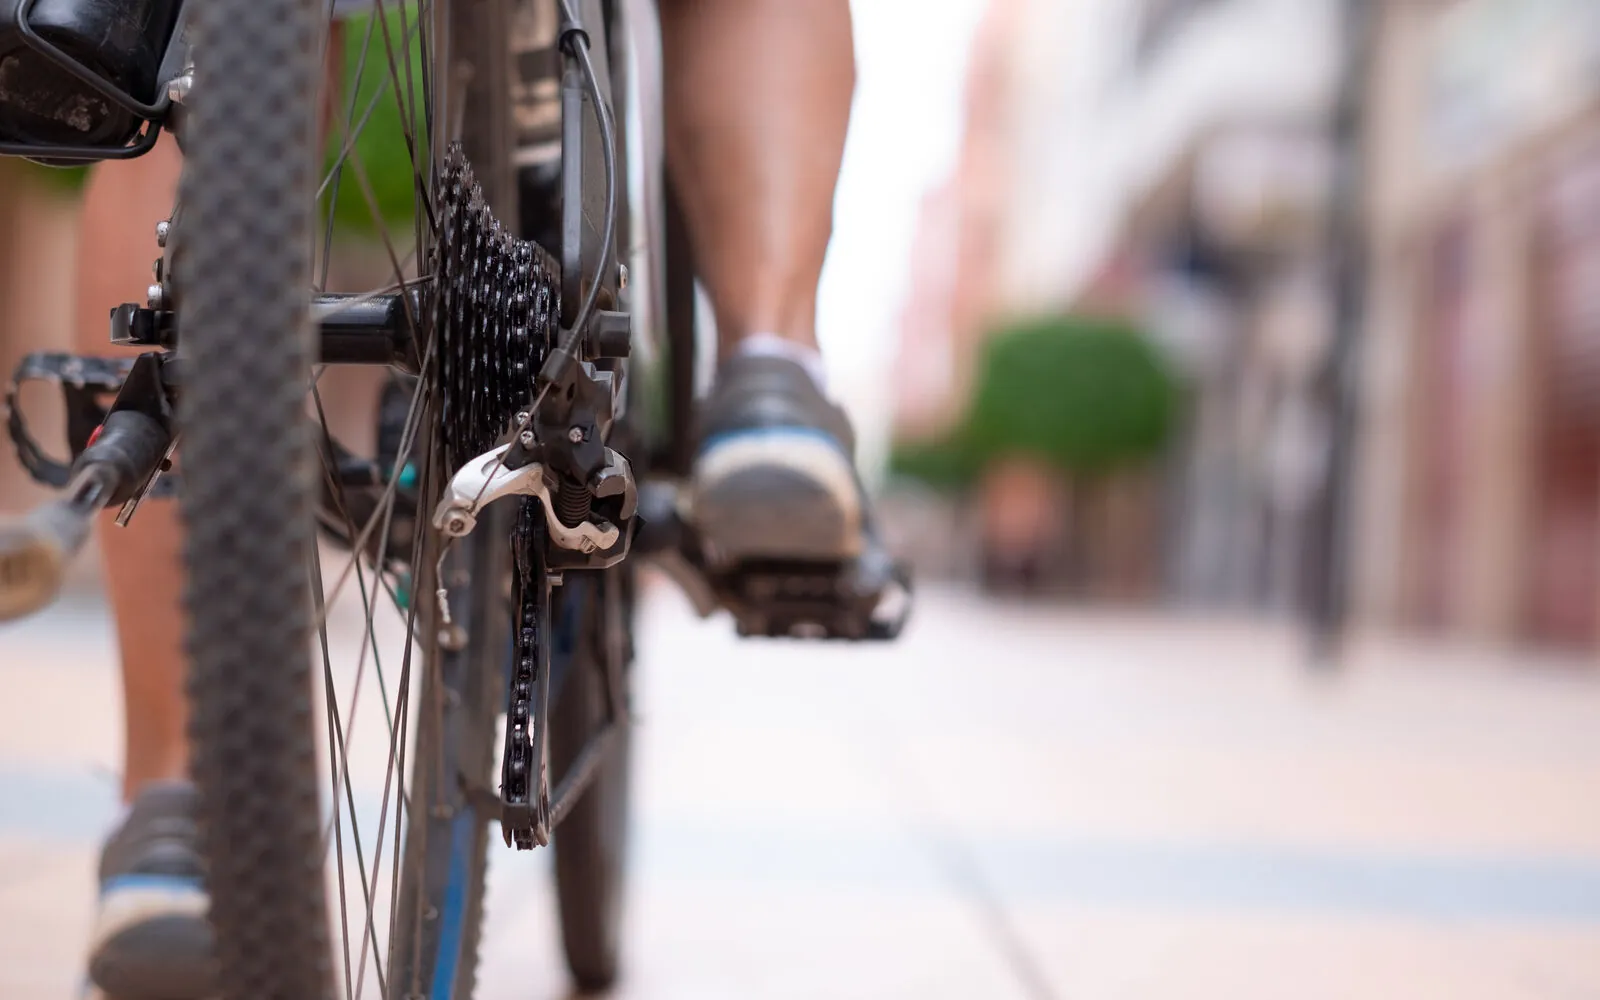
Bike pedal position and setup is how your foot sits on the pedal (the ball of the foot over the pedal axle, the foot angle and, on clipless pedals, the cleat position and release tension) combined with the right saddle height. It is fundamental for any rider, whether you are just starting out or have been riding for years. With the right position on your bike pedals you get the most out of your performance, avoid injuries and enjoy far more comfortable riding. In this guide we look at why it matters so much and how to get it right, with practical tips.
Placing your foot correctly on the pedal shows in three ways.
- 01Better power transfer. With your feet well placed on the pedals you make the most of the force your legs generate. That force reaches the pedals more effectively and, in the end, translates into more performance on the bike.
- 02More comfort. A proper setup lets you find a comfortable position for your feet. You reduce aches and pains on long rides and genuinely enjoy every outing.
- 03Injury prevention. A poor position on the pedals can lead to injuries, such as knee, ankle or foot pain. A good setup helps prevent them because it spreads the loads properly and reduces stress on the joints.
How to find the right position on the pedals
To get your pedal position and setup right, check these three points:
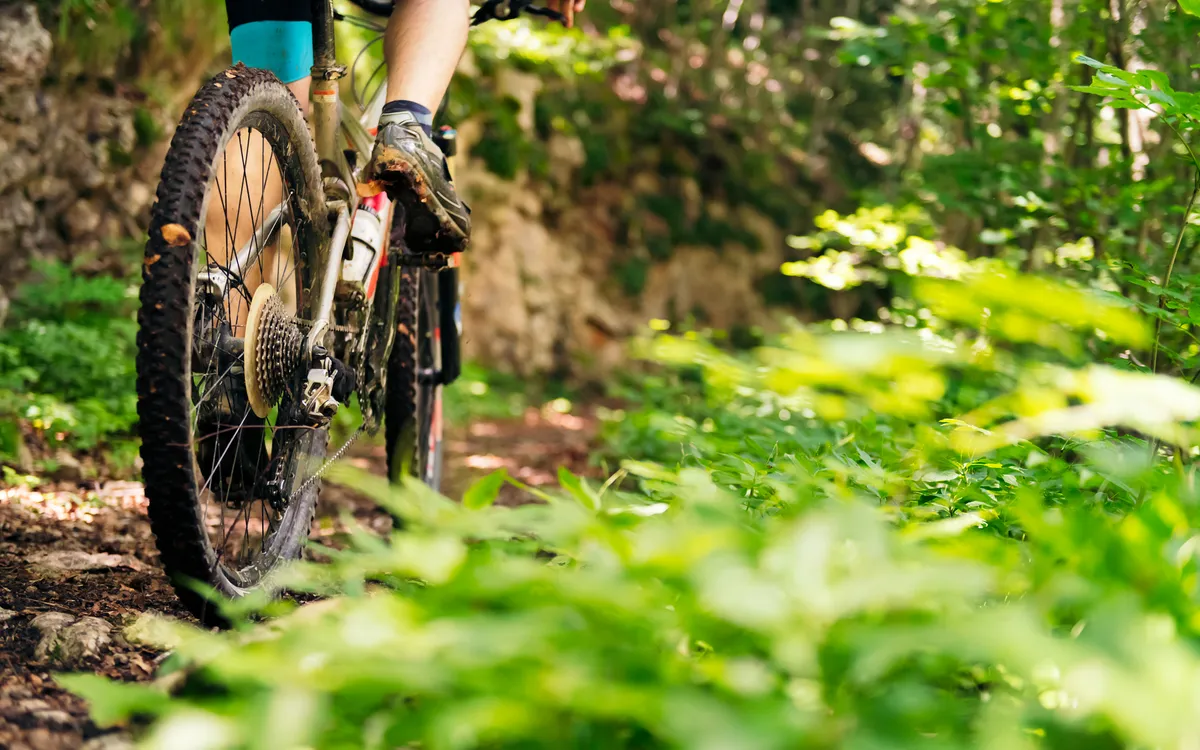
- 01Saddle height. Make sure your saddle height is right, because the wrong height changes your position on the pedals. Find the optimum knee angle and adjust the saddle accordingly.
- 02Saddle-to-pedal distance. This matters too. Set correctly, it lets you extend your legs almost fully as you pedal, with a slight bend in the knee at the bottom of the stroke and without straining your joints.
- 03Pedal angle. This can vary with your preferences. Some riders prefer their foot angled slightly outwards and others slightly inwards. Try different angles and stick with the one that feels most comfortable.
Bike pedal setup: practical tips
Three quick adjustments that make a difference on every pedal stroke.
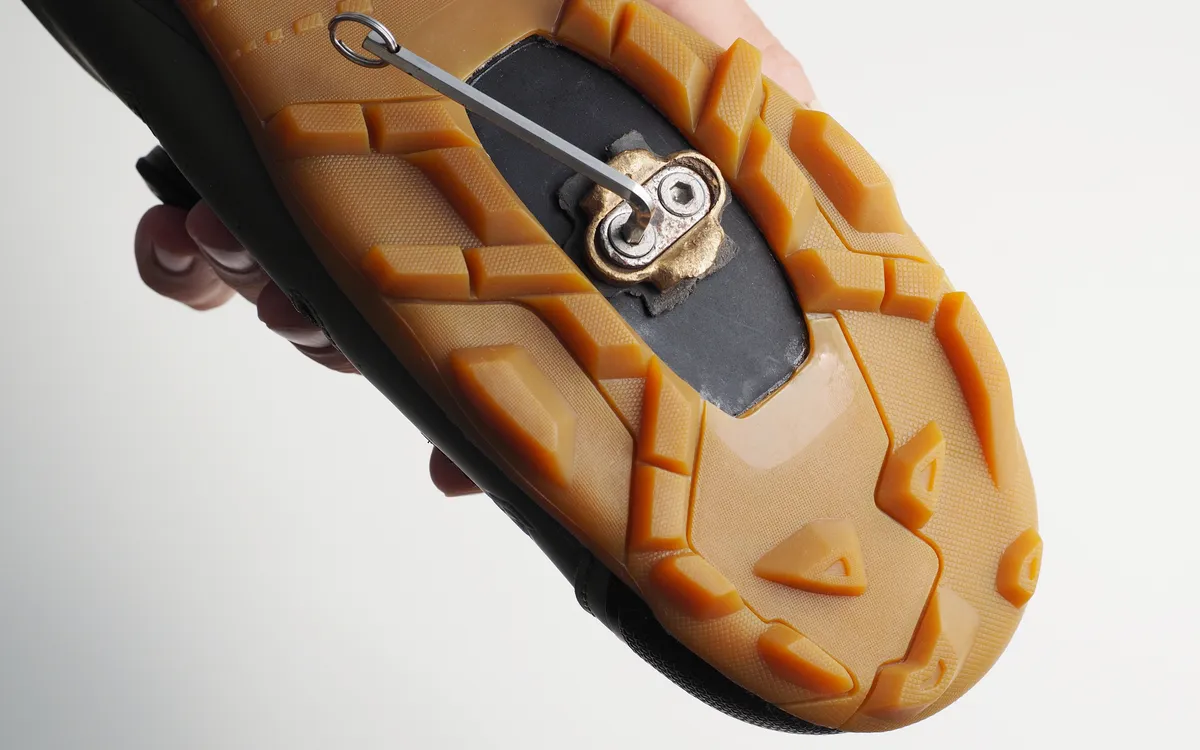
- 01Secure retention. Check that your cycling shoes engage properly with the pedals.
- 02Lateral position. Some pedals let you adjust the lateral position. If yours do, make sure they are well centered so you do not load your feet and knees unevenly.
- 03Clipless tension. If you ride clipless pedals, set the release tension to your comfort level. Too much tension makes unclipping hard; too little can release you when you least expect it.
If you want your pedals to keep working like the first day, we have a complete maintenance guide.
THE COMPLETE PEDAL MAINTENANCE GUIDEExtra upgrades for better performance
Beyond positioning and setting up your pedals, there are other upgrades you can make to boost your performance on the bike:
- 01Custom insoles. If you have foot discomfort, consider them. They can correct biomechanical issues and improve comfort while pedaling.
- 02The right pedals. There are many types of pedals on the market, each with its own features. Do your research and choose the one that best suits your riding style and your specific needs.
To choose wisely, we have a complete guide on how to choose the best bike pedals.
HOW TO CHOOSE THE BEST BIKE PEDALS
Preventing injuries with correct bike pedal position and setup
Good pedal position and setup help prevent the most common cycling injuries. Add these two recommendations:
- 01Warm up properly. Before you set off, do a proper warm-up to prepare your muscles and joints. It helps you prevent injuries and ride better.
- 02Listen to your body. Pay attention to the signals it sends you while you pedal. If the pain or discomfort does not go away, stop and see a healthcare professional who specialises in sports injuries.
Frequently asked questions
It varies from person to person. In general, the best approach is to make gradual adjustments and test until you find the most comfortable position.
Yes, you can make some basic adjustments at home. But if you do not feel confident, it is better to get help from a professional so you do not damage your bike.
Pedal height as such is not adjustable. What you do adjust is where you place your foot, with the ball of the foot over the pedal axle as the usual reference, and your saddle height, so that at the bottom of the pedal stroke your leg is almost fully extended. From there, fine-tune to your preferences.
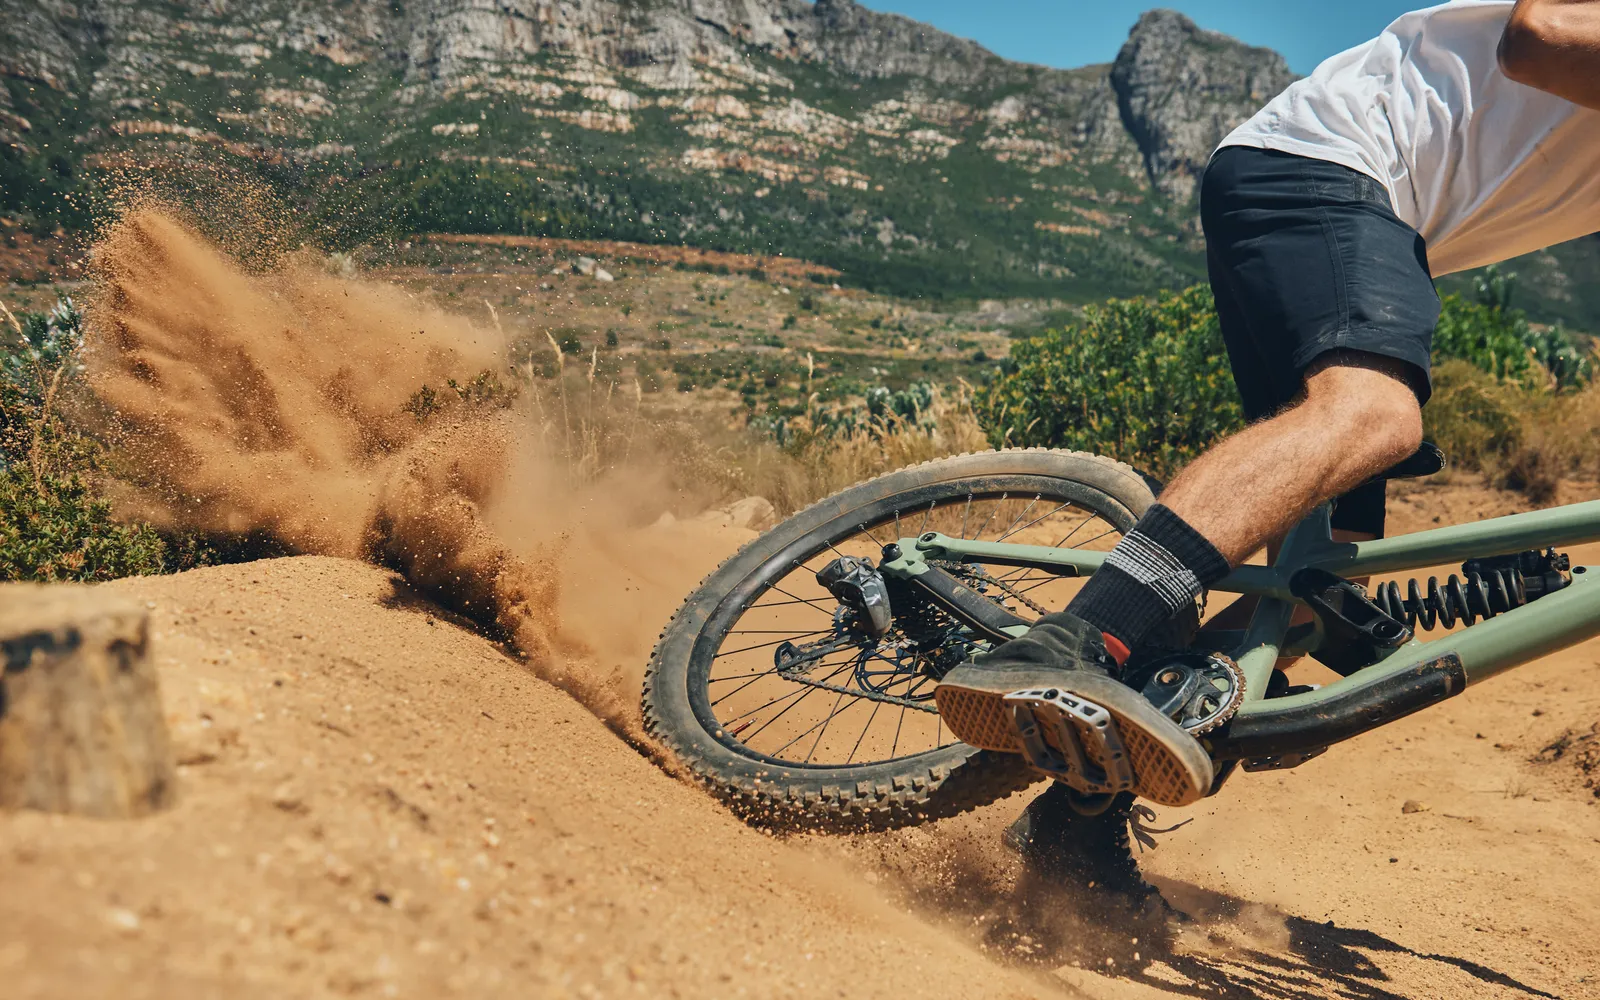
As a reference, with the pedal axle under the ball of your foot or slightly behind it, toward the arch. That position gives you good stability and balance as you pedal and more control over the bike on rough terrain.
Very. The tension decides how easily you can release your foot from the pedal when you need to, whether in an emergency or when stopping at traffic lights. If it is too high, you will struggle to unclip quickly and could end up on the ground or injured. If it is too low, you could unclip unintentionally mid-effort, which is just as dangerous. The adjustment varies by model and manufacturer, but it is usually done with a screw or an adjustment mechanism on the pedal itself: turning clockwise increases the tension and counterclockwise reduces it. Start with a medium tension and adjust to your preferences and comfort. If you are new to clipless pedals, start lower to get familiar with the system and increase it as you gain confidence. Do your testing and adjusting in a safe environment before taking on more demanding rides, and always follow your pedal manufacturer's instructions to set them up correctly and keep them working at their best.
In most cases, no. What you can adjust is the saddle height to find an optimum position.
On clipless pedals everything revolves around where you fit the cleats on the shoe; on flat pedals it is about finding a comfortable, stable position for your feet.
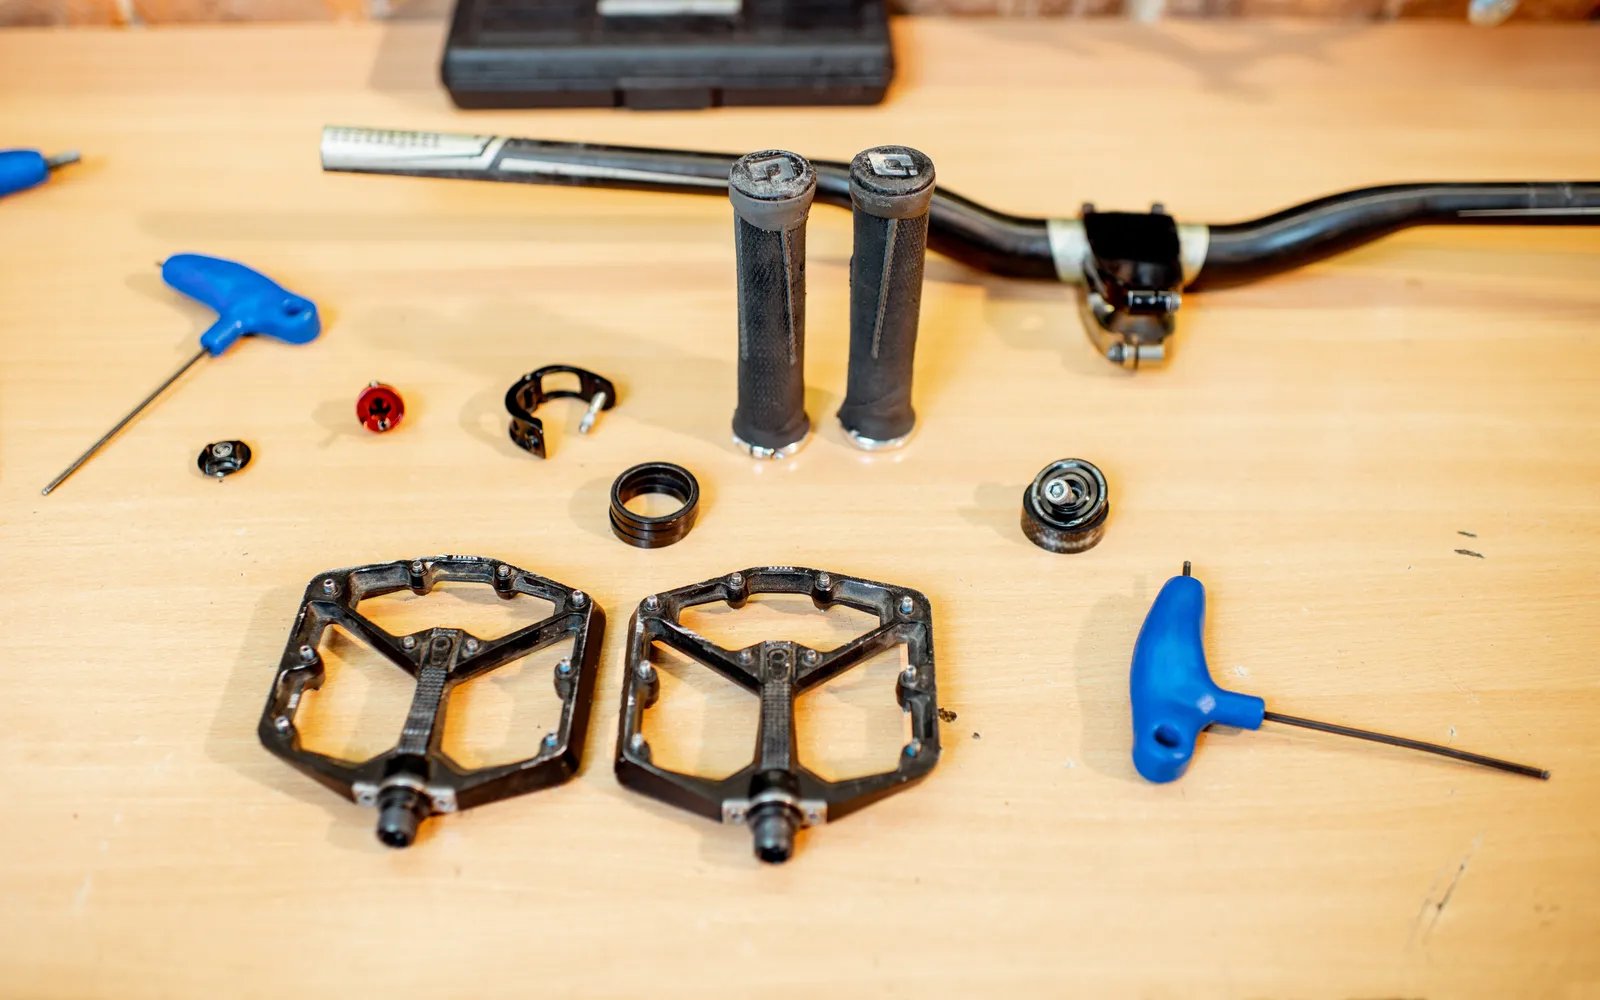
An Allen key or a wrench, depending on the type of pedal you have.
Not necessarily, but it is worth checking and adjusting them periodically to ensure optimum performance and ride safely.
Consider it if they are worn, damaged or simply cannot be adjusted correctly even after trying different setups.
Yes, the adjustments can vary with the type of bike. Follow the specific recommendations for each one: road, mountain, etc.
As a reference, place the cleat so the ball of your foot sits over the pedal axle, lined up with the front of the shoe and level. Then fine-tune the side-to-side position and the angle until your knee tracks straight and the pedal stroke feels natural, and tighten the bolts without overdoing it.