Choose the right flat pedals
This guide covers everything you need to know to use flat pedals effectively and safely: from fitting them to the different pedalling techniques, with practical tips and tricks to get the most out of them.
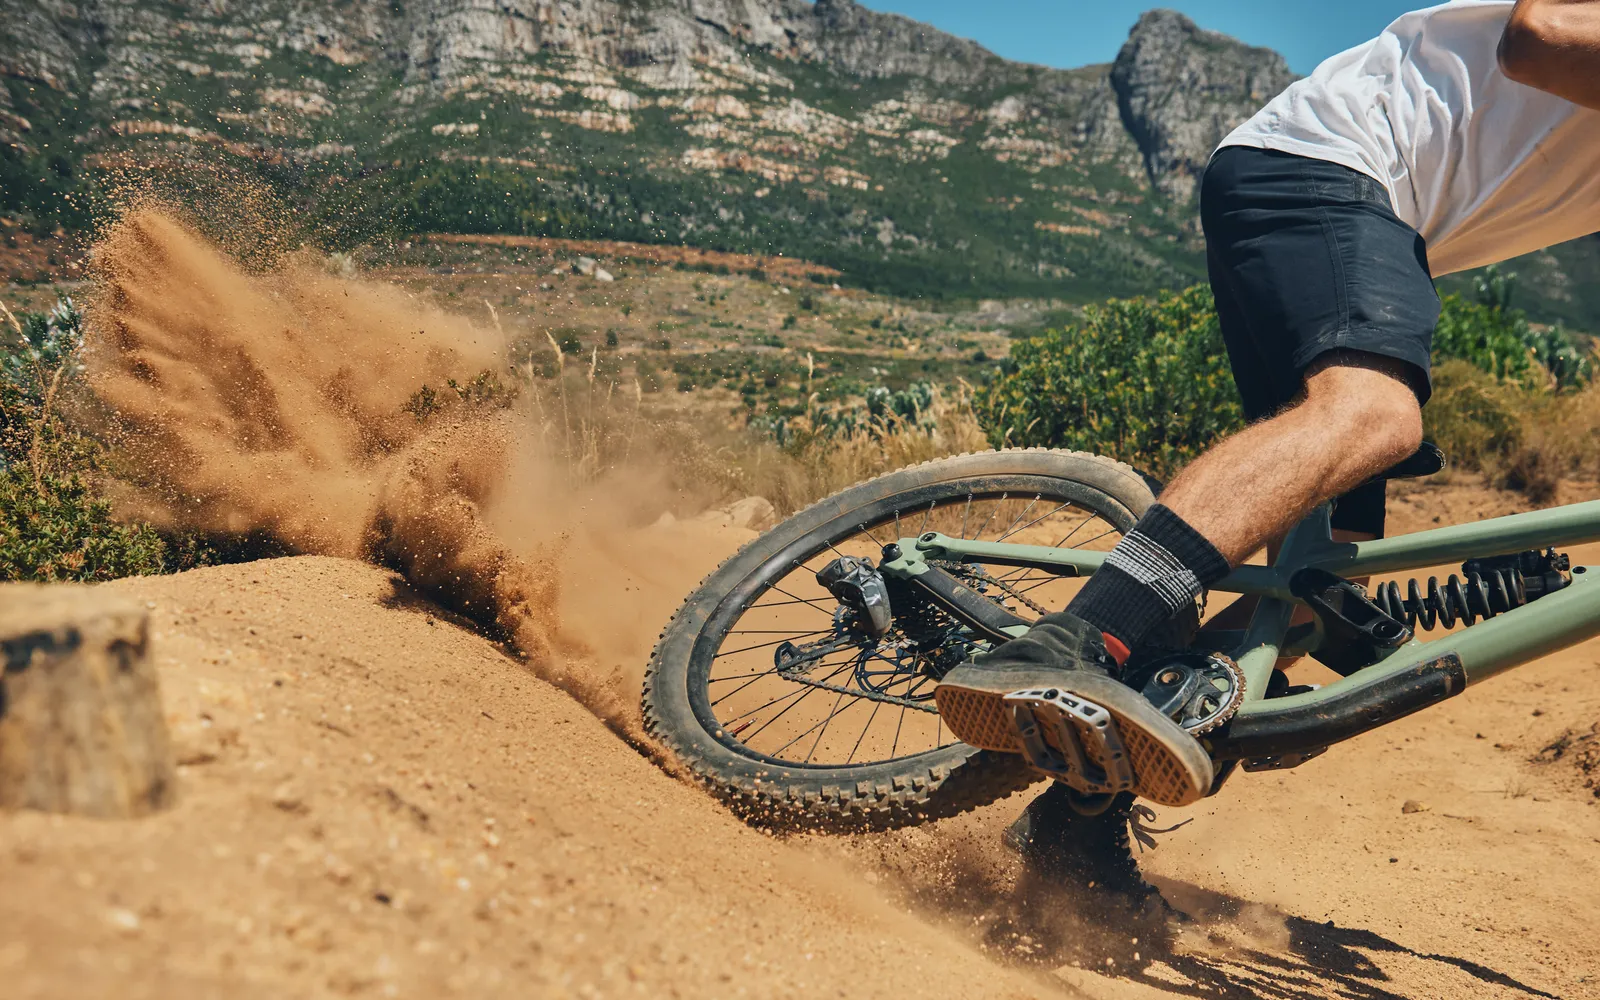
Flat pedals are a very popular choice among riders looking for more comfort and versatility when pedalling. Unlike cleated pedals, they don't force you to wear special shoes with cleats on the sole: you can ride in your normal trainers or even casual shoes.
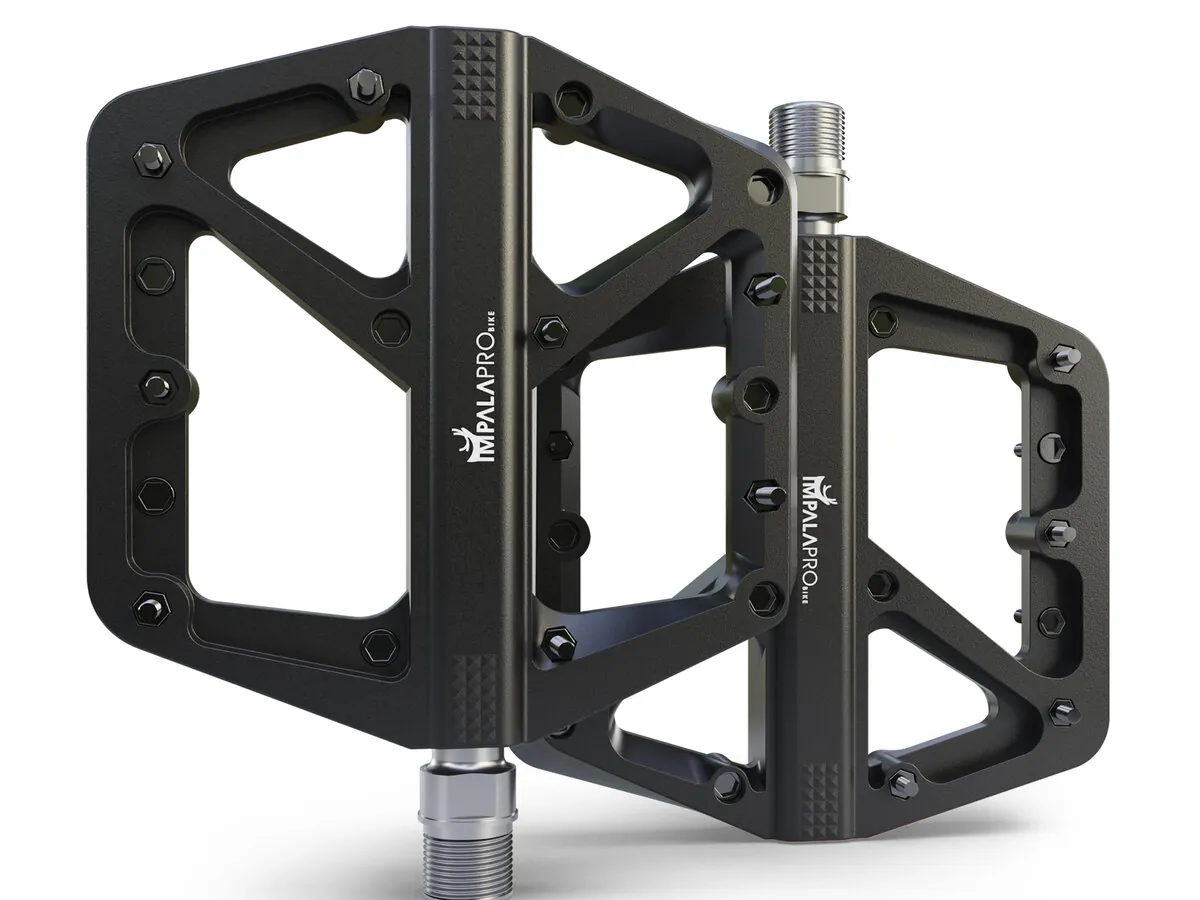
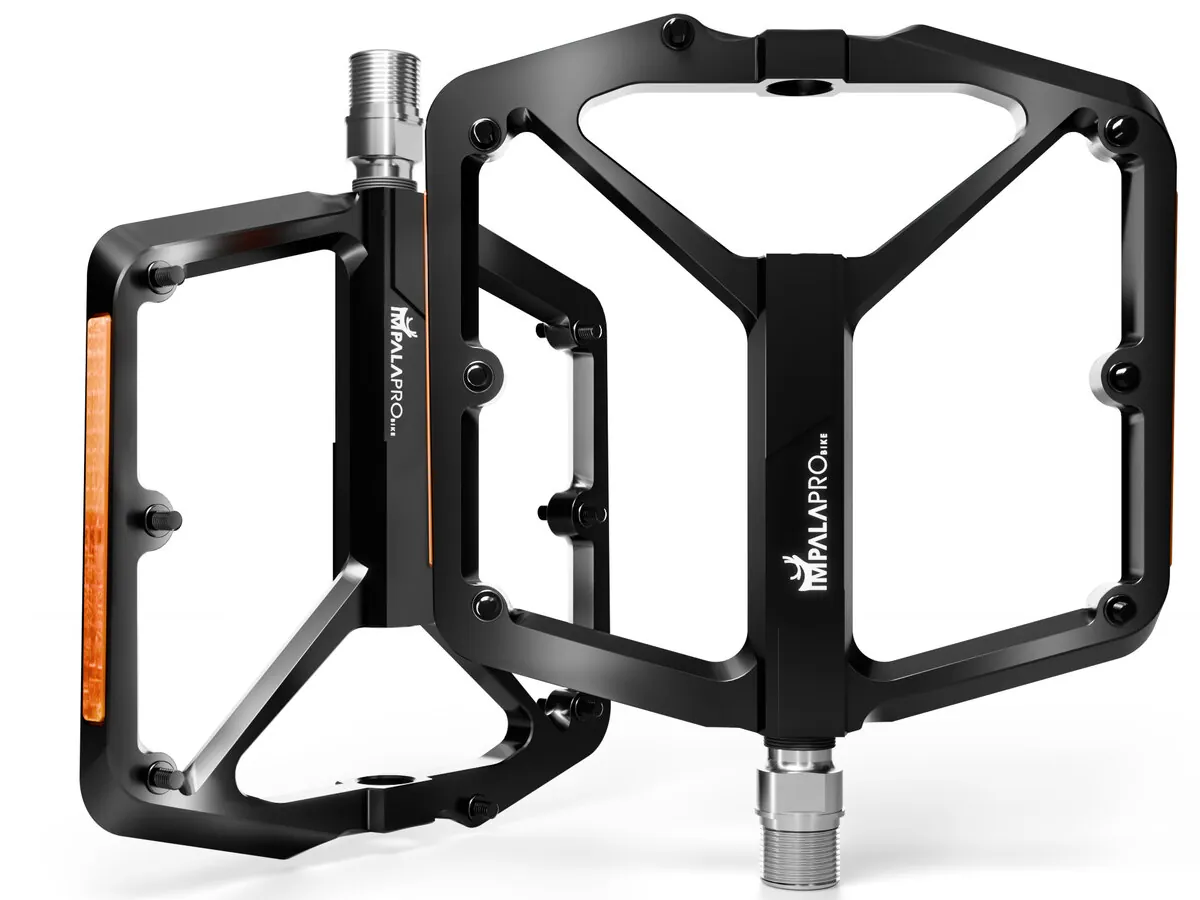
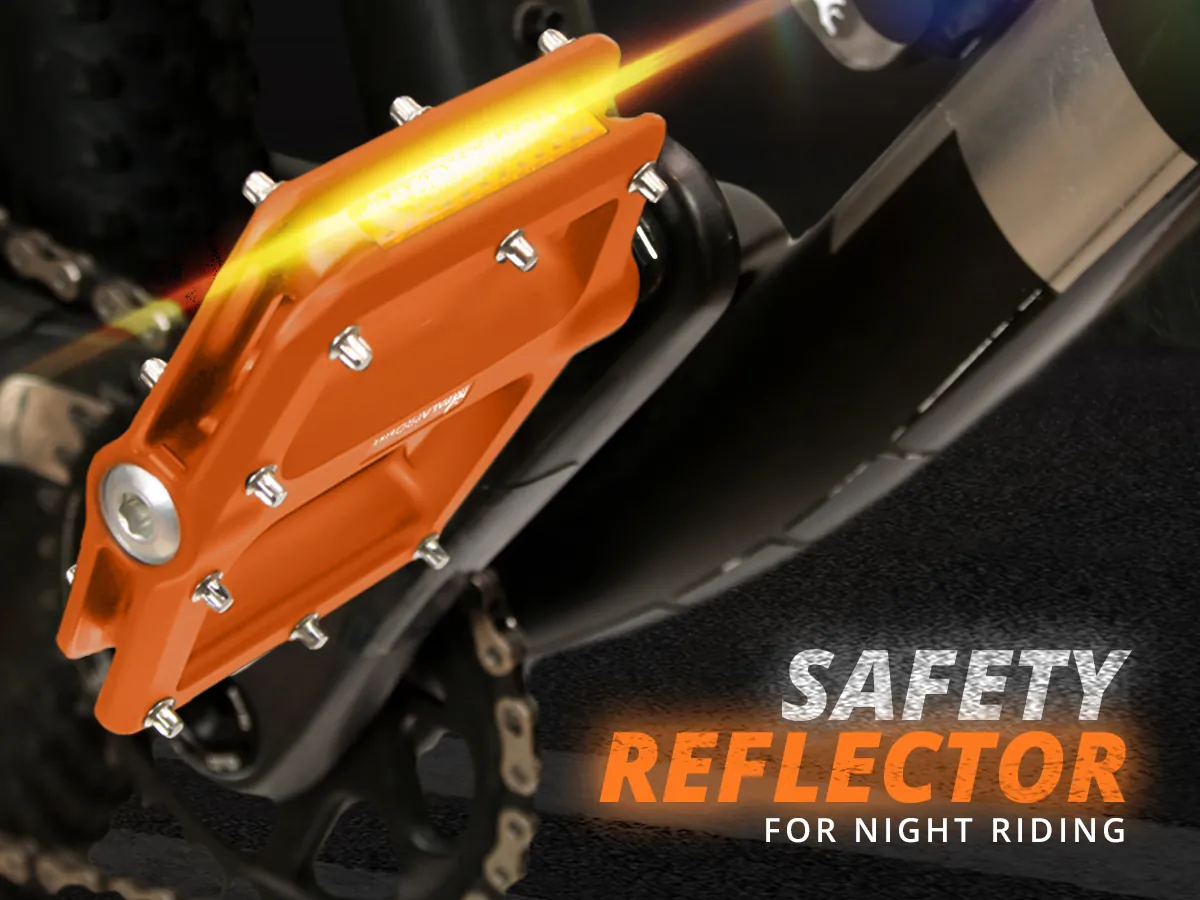
Before you start, it's worth choosing the right pedals for your needs. There's a wide range of bike pedals on the market, from basic models to more advanced ones with extra features. Consider factors such as weight, size, material and grip before deciding. These are the main types:
- 01Plastic. A budget, lightweight option, ideal for beginners and leisure riders. They have moulded pins on the surface for better grip, although they can be less durable.
- 02Aluminium. Stronger and more durable, they offer better power transfer and have replaceable pins. They're the favourites of mountain bikers and city riders.
- 03Steel. Even tougher, designed for difficult terrain and aggressive jumps. Ideal for downhill riders and BMX.
- 04Composite. They combine materials such as nylon and glass fibre, with a good weight-to-durability ratio. Some feature adjustable pins to customise the grip, and large-platform versions provide stability and comfort. High-end models may have sealed bearings, far more durable and weather-resistant: ideal for wet conditions.
- 05High performance. They chase maximum efficiency with advanced materials. For mountain biking, specific thin-profile MTB pedals with more pins are recommended. Although they're less common on the road, there are also lighter, more aerodynamic flat pedals.
- 06City. On urban bikes, flat pedals are practical and versatile, ideal for daily commuting and relaxed rides.
Fit the pedals to your bike
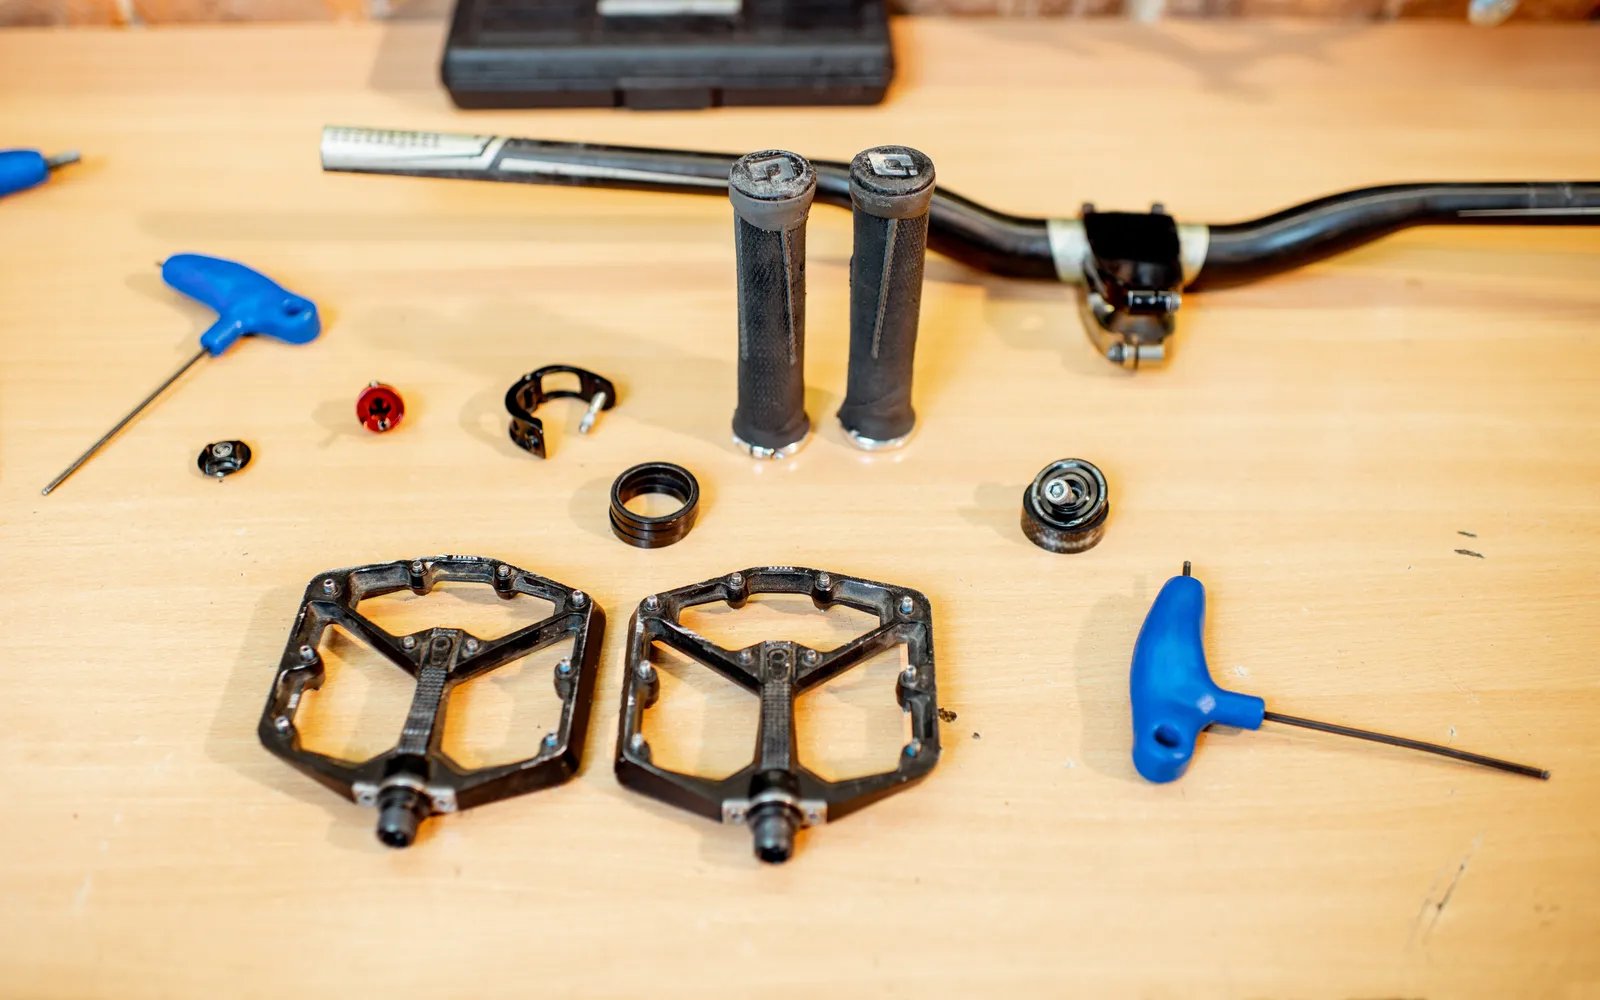
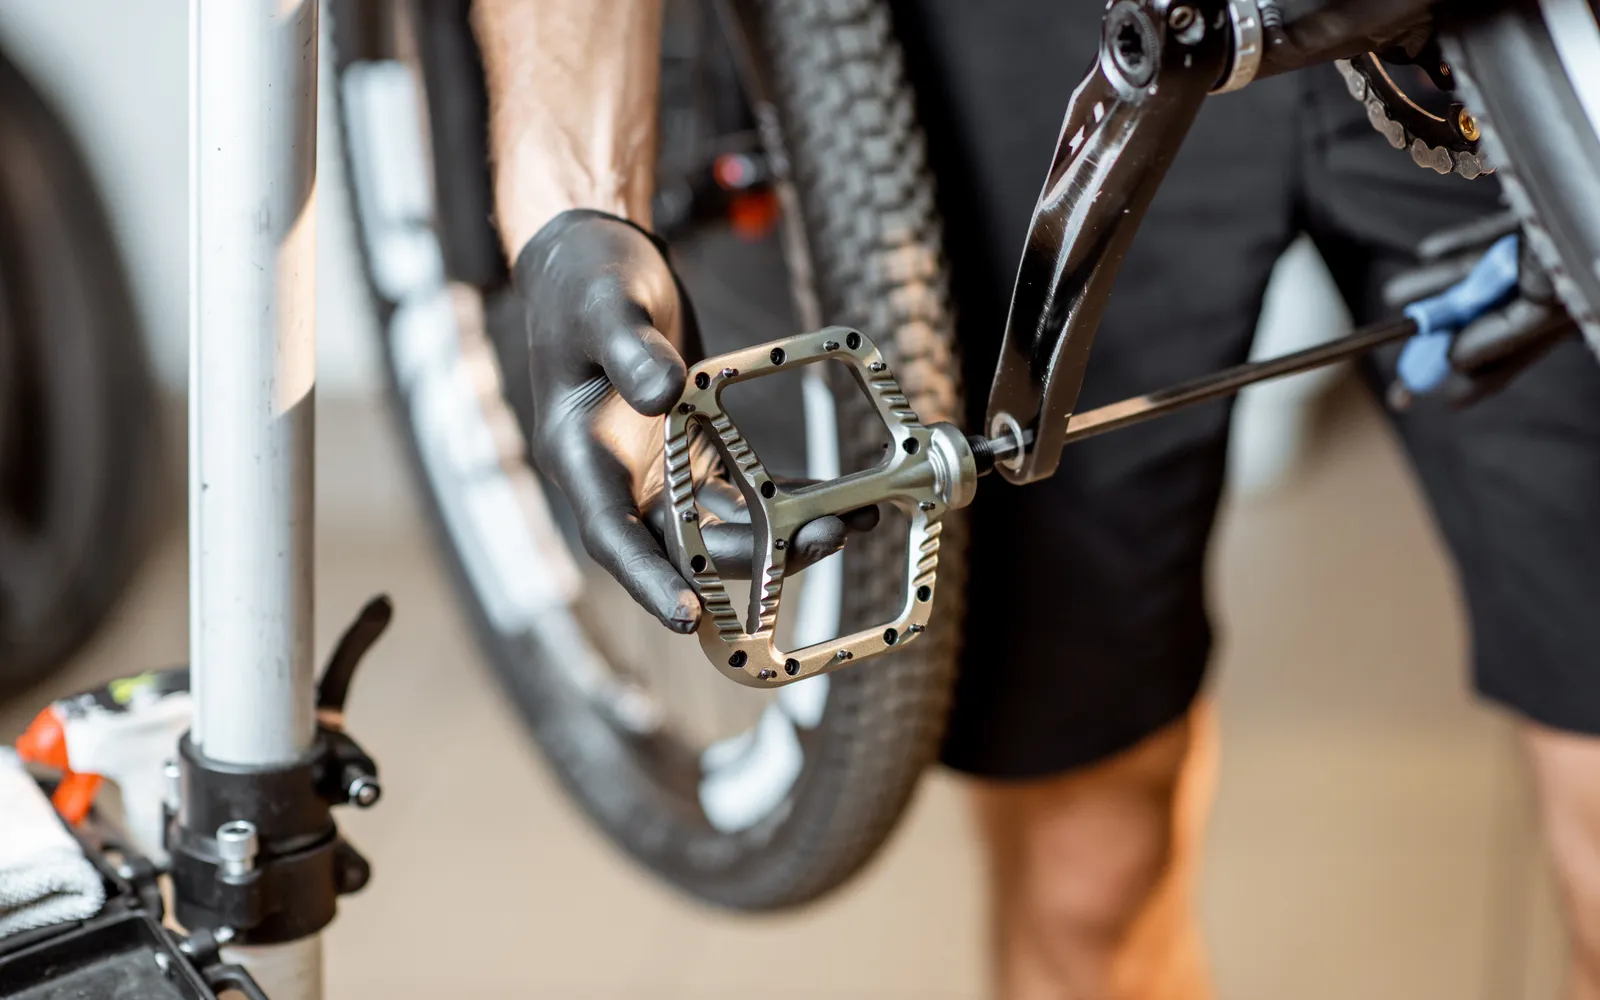
Changing pedals is a job of a few minutes if you have the tools to hand and follow the right order.
- 01Tools. Adjustable spanner, hex or Allen key and bike-specific grease or lubricant.
- 02Prepare the bike. Find a flat, safe area with enough light and, if possible, use a stand.
- 03Remove the old ones. Loosen each pedal at its base with the spanner and remove it from the crank. The right one loosens anticlockwise; the left one, which has a reverse thread, loosens clockwise.
- 04Clean and grease. With the pedals off, clean and lubricate the crank threads so the new pedal goes in without forcing it.
- 05Fit and check. Fit the correct pedal on each side and tighten it securely with the appropriate spanner. Then check it's firmly fastened, with no loose movement.
Pedalling techniques on flat pedals
From your first time on the bike to the most technical descents. Master the basics, improve your traction and then go for the advanced stuff: it all takes practice.
If it's your first time on a bike, stand close to it safely and make sure you have enough space to move without obstacles. It helps to have something to hold on to, such as a wall or a railing, to keep your balance while you get used to flat pedals.
Put one foot on the pedal and the other on the ground to keep your balance. Push down with the foot on the pedal; as it goes down, the other foot rises naturally. Then switch legs and repeat. With practice, pedalling on flats becomes intuitive and smooth.
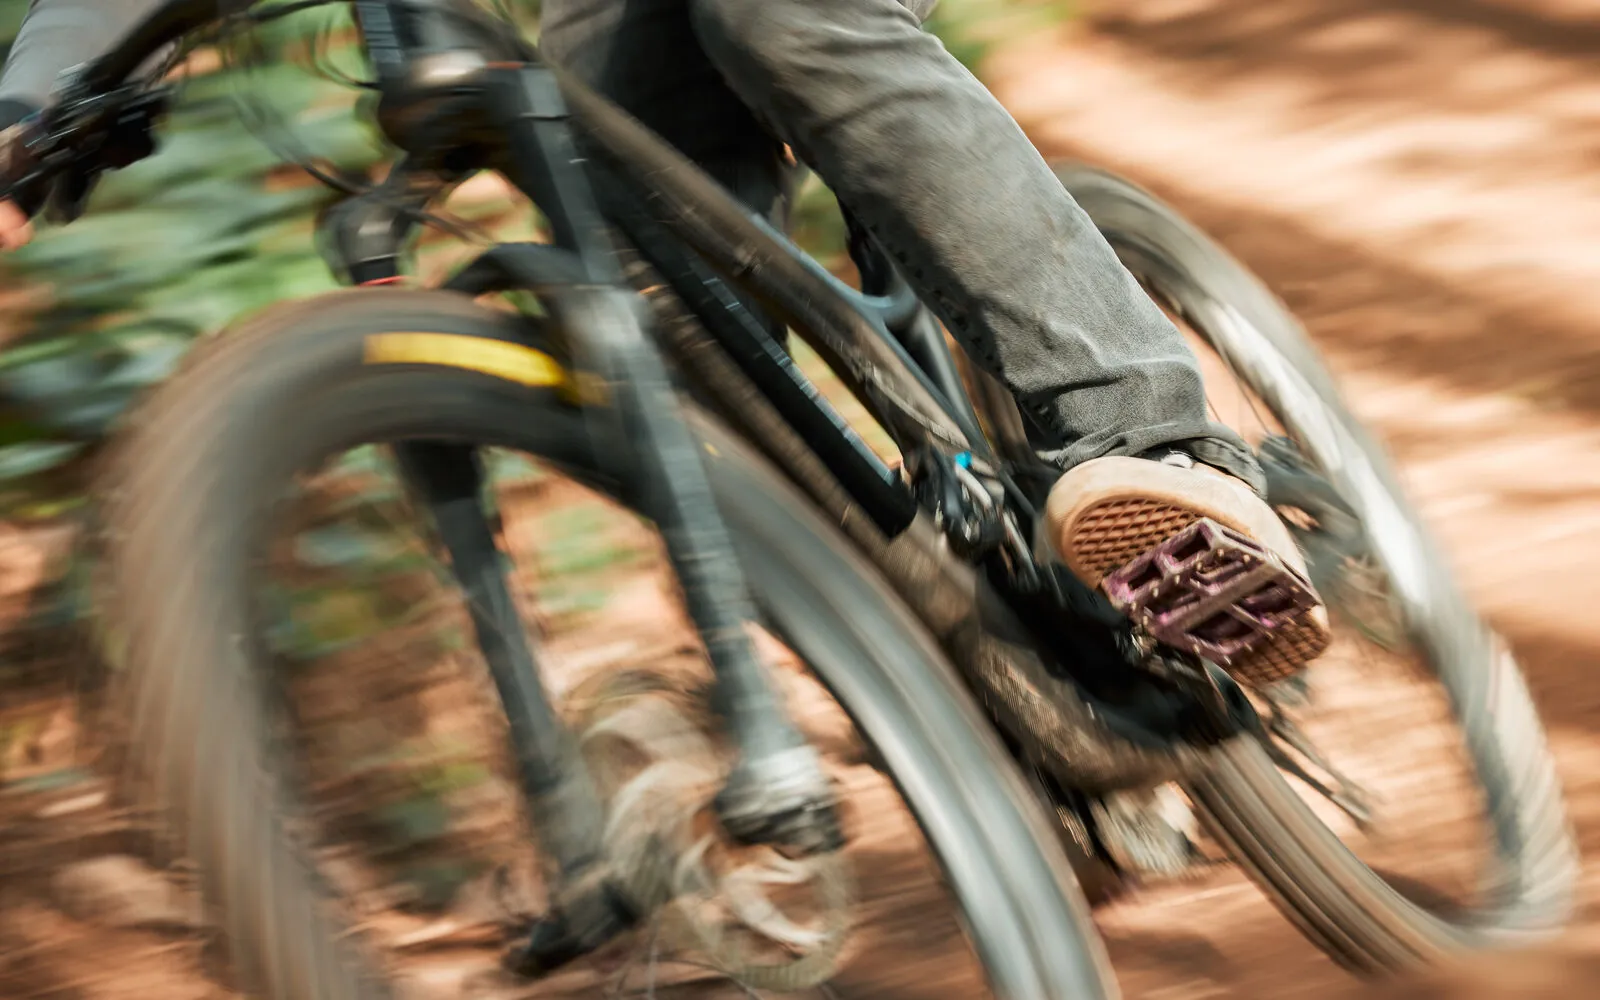
- 01Posture and balance. The right posture is essential for efficient pedalling. Keep an upright position, with relaxed shoulders and slightly bent elbows, and spread your weight evenly between the handlebar and the pedals.
- 02Foot placement. The ball of your foot centred on the pedal. Avoid resting on your toes or your arch, as it costs comfort and efficiency. Keep your heels slightly dropped for stability.
- 03Smooth pedal stroke. Pedalling should be round and fluid. Apply constant pressure throughout the pedal's travel, in both the push and the pull phase, and avoid sudden movements or jerks, which cost performance.
- 04Stable feet. Don't let them slide forwards or backwards as you pedal. Keep a firm, stable position, with your feet parallel to the ground.
- 05Weight distribution. Balanced between both pedals. That way you improve traction and have more control over the bike. Avoid overloading the pedals or leaning too far forwards or backwards.
- 06Pin set-up. If your pedals have adjustable pins, try different configurations until you find the one that best suits your pedalling style and the terrain. Make sure they're properly tightened so they give good grip.
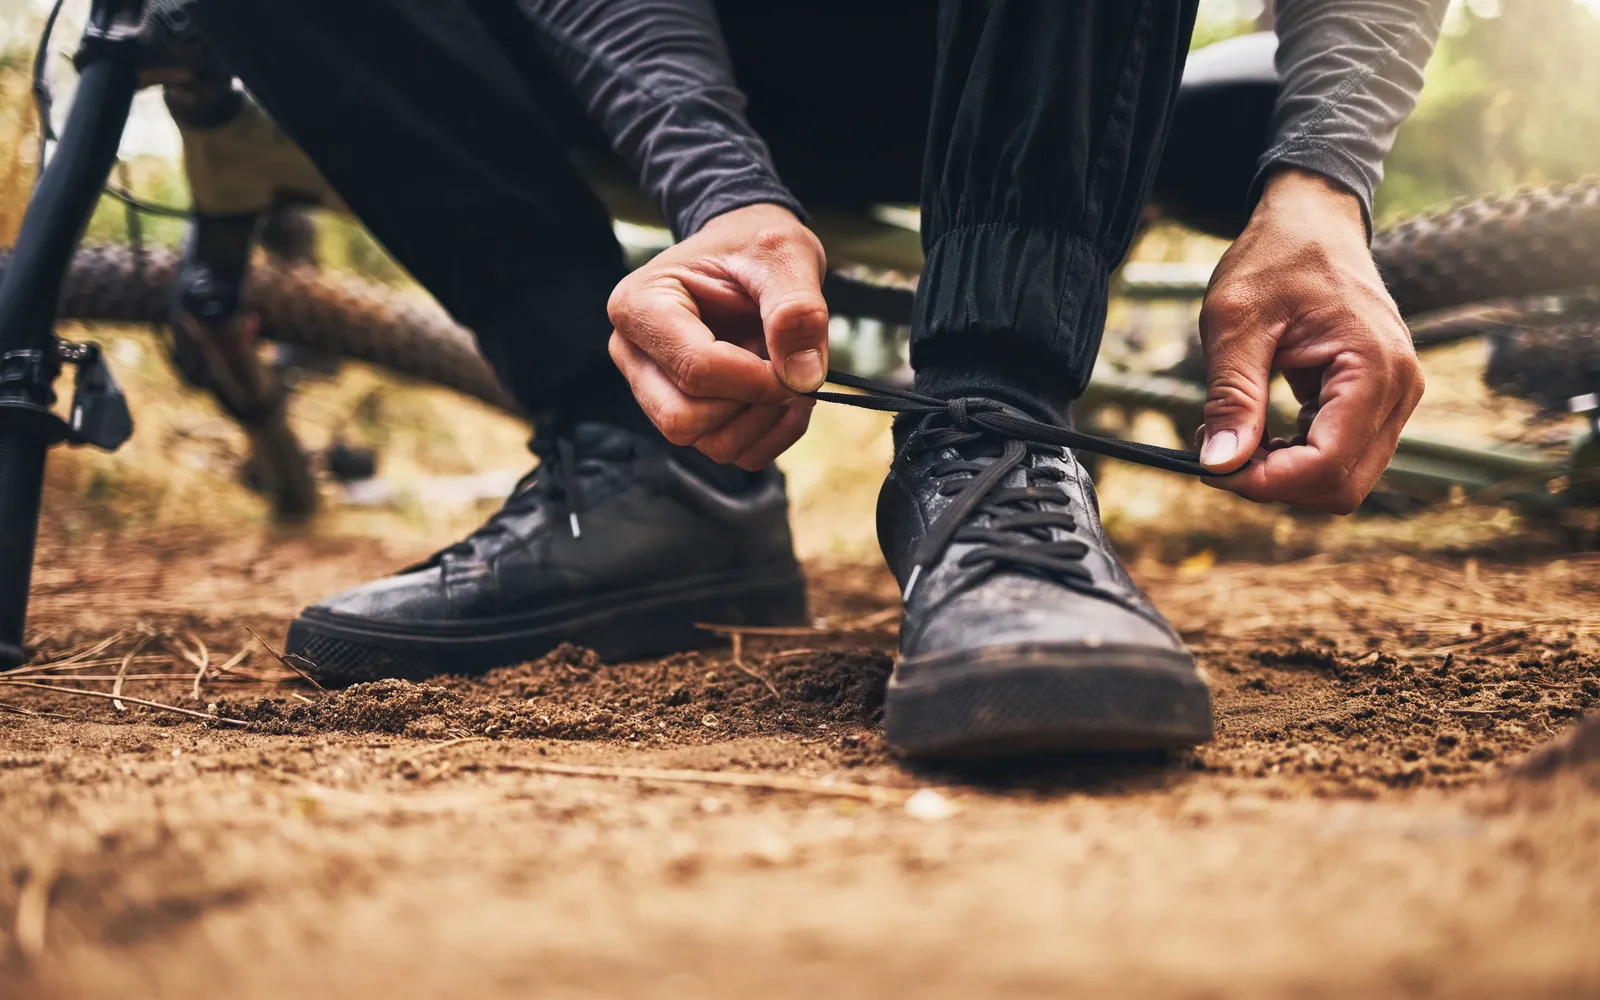
- 07Grippy shoes. Wear specific cycling shoes with a sticky sole, designed to maximise traction on the pedal and minimise slipping. Avoid smooth or worn soles, as they compromise your safety.
- 08Wider platform. If your foot keeps slipping off, pedals with a wider platform help keep it firmly in place.
- 09Steep climbs. Focus on keeping a steady rhythm and efficient technique. Alternate between seated and standing as the terrain demands, shift your weight forwards so the front wheel doesn't lift and use your body's momentum to get over obstacles.
- 10Technical terrain. Smooth, controlled pedalling rules here. Adjust your position to the terrain, keep a flexible, relaxed posture and use your arms and legs to absorb impacts. Adapt your cadence to the obstacles and choose a suitable gear so you don't lose control.
- 11Use your body. Harness the power of your whole body. Keep your torso stable and use your core muscles to stabilise the movement; in the pull phase, engage your core and hips to generate more force.
- 12Pedalling out of the saddle. Useful for getting over obstacles or putting down more power at specific moments. Stand up on the pedals, keep your elbows bent and use your body weight to push down and back on each pedal stroke, without losing balance or stability.
- 13Rocks and roots. On difficult terrain, a relaxed posture and a lower cadence for more control. Lift your backside slightly off the saddle and bend your knees to absorb impacts. Adapt your technique to the conditions and stay focused.
- 14Steep descents. Adjust your position on the bike to maximise control. Pedals level, heels down and body slightly back. Stay low, with arms and legs bent, control your speed and pick the safest line.
Mastering basic and advanced pedalling technique takes practice and experience. Always adapt your technique to the terrain and follow safety recommendations.
Safety tips for riding flat pedals
A flat pedal gives you plenty of freedom. These five habits make it safe too.
- 01Quality pedals. Go for durable, tough pedals that give good grip. Look for non-slip surfaces and robust materials.
- 02The right shoes. To guarantee good grip, choose trainers with rubber soles that provide stability and traction.
- 03Avoid slipping. Keep your feet firmly planted on the pedals and avoid sudden movements that could make you slip. Stay in control of your balance at all times as you pedal.
- 04Protect your feet and ankles. Consider wearing protection such as ankle guards or padded socks, which give your feet and ankles extra support and protection.
- 05Jumps. If you're going to jump or do tricks, take care with your technique so you land safely. Feet firm on the pedals and knees bent on landing to absorb the impact.
Pedal positioning and set-up
Finding the right position on the pedals means considering several aspects. Check these three points:
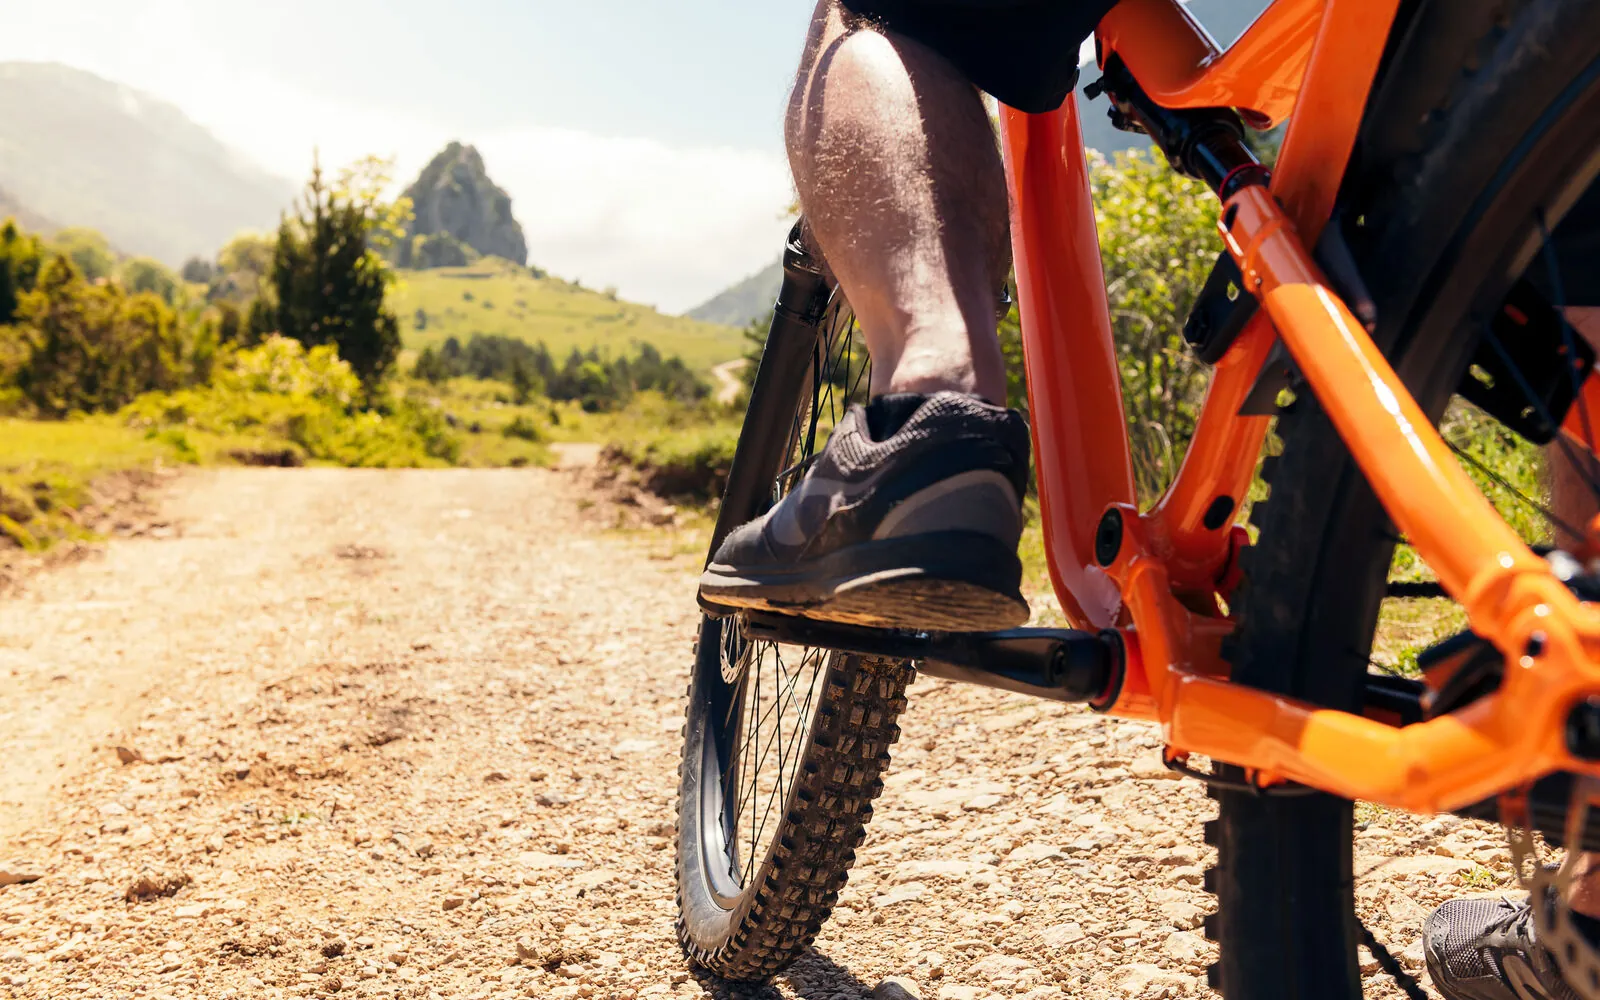
- 01Saddle height. Make sure it's right, because the wrong height changes your position on the pedal. Find the optimum angle for your knees and adjust the saddle accordingly.
- 02Saddle-to-pedal distance. It matters too. Set correctly, you fully extend your legs as you pedal without straining your joints.
- 03Foot angle. It can vary according to your preferences. Some riders prefer it slightly outwards and others slightly inwards. Try different angles and stick with the one you find most comfortable.
Frequently asked questions
Yes. Using flat pedals on technical terrain can give you a greater sense of safety and control, because you can take your feet off instantly if needed.
No. One of their advantages is that you can use your normal trainers or even casual shoes. You don't need special shoes with cleats on the sole.
More comfort and versatility, because you don't need special cleated shoes. That means you walk normally in your everyday trainers and have more freedom of movement when you're not pedalling.
Yes, for a very wide range of styles: mountain biking, touring and urban commuting. They're especially popular with mountain bikers for their comfort and versatility.
With most, as long as the cranks have the standard 9/16" thread.
Their lifespan depends on build quality, maintenance and use, but they usually last several years.
Aluminium flat pedals tend to be lighter and more corrosion-resistant; steel ones are more durable and impact-resistant.
They work for both downhill and cross-country, although some riders prefer them for a specific discipline.
The price varies, but on Amazon.co.uk the best-selling flat pedals cost around £10 to £30. Models from the top brands easily go over £50, and the highest-end ones past £130.
Yes, with most MTB shoes, although it's best to choose ones with a rubber sole for better grip.
Keep the adjustment screws tight, check the condition of the bearings from time to time and wear shoes with good grip.
Some of the lightest on the market are high-quality aluminium pedals or those made from composite materials such as nylon.
They can cost a little efficiency compared with clipless pedals, but in return they give you more comfort.
Yes, especially if you prioritise comfort and freedom of movement.
They're designed to take the weight of most riders. A typical load capacity is up to 100 kg, and some models reach 120 kg.
Yes, you can use normal trainers with flat pedals, although specific shoes will give you better grip.
More than the brand, compare material, grip, weight and other riders' reviews. That's what makes the difference on the trail.
Consider the material, grip, weight and other riders' reviews. Our guide to the best flat pedals and our guide to choosing the best bike pedals take you through it step by step.