Why does bike pedal maintenance matter?
Learn how to keep your bike pedals in top condition so they perform at their best and last much longer. In this guide we go from cleaning and lubrication to inspecting every component, step by step, so your pedals run without a hitch on every ride.
Before getting into the detail, it's worth understanding why these essential parts of the bike deserve your time. Pedals live exposed to mud, dirt, knocks and vibration. Without the right care, all of that takes its toll on performance and durability.
- 01Less wear. Regular maintenance keeps your pedals in good working order, minimises wear and reduces the risk of mechanical failure.
- 02More efficiency. Clean, well-lubricated pedals transfer energy better, which means more efficiency in every pedal stroke.
- 03No noise. Say goodbye to annoying noises and creaks, which can completely spoil the enjoyment of a ride.
In short: proper pedal maintenance not only extends their lifespan, it also improves how your bike performs and how much you enjoy it.
Getting ready for bike pedal maintenance
Before you start maintaining your pedals, get the tools and products you need ready. Here's the list of what you'll need.
- 01Pedal spanner or Allen key. Check which size of spanner or key your pedal model needs before you start.
- 02Bike cleaner. A bike-specific cleaner is ideal for removing dirt, mud and residue from the pedals. Make sure it's safe for the components and follow the manufacturer's instructions.
- 03Soft-bristled brush. Reaches the awkward areas and shifts the dirt built up on the pedals without damaging them.
- 04Bike grease or lubricant. After cleaning, you'll need to apply a bike-specific grease or lubricant to the moving parts so everything runs smoothly.
- 05Clean rag. A soft, clean rag is essential for drying the pedals after cleaning them and for wiping off any excess grease or lubricant.
With everything you need to hand, let's go through pedal care and maintenance step by step.
Cleaning your pedals
Regular cleaning is essential to get rid of built-up dirt and mud, which are what hit performance and durability the hardest. Follow these four steps to clean them properly:
- 011. Remove the pedals from the bike. Before cleaning, take them off with the right spanner or key. Careful, each side loosens in a different direction: the right pedal loosens anticlockwise and the left one, which has a reverse thread, clockwise.
- 022. Clean the outer surface. Apply the bike cleaner directly to the pedals and scrub gently with the soft-bristled brush to remove dirt and residue.
- 033. Clean the bearings and internal areas. Once the outside is done, turn your attention to the bearings and the inner areas of the pedal. A small brush or an old toothbrush will get into the awkward gaps; remove any leftover dirt or built-up grease.
- 044. Rinse and dry. Once they're thoroughly clean, rinse the pedals with clean water to remove any remaining cleaner or dirt. Then dry them completely with a clean rag to prevent corrosion.
Maintaining your bike pedal bearings
The bearings are what let the pedal spin smoothly. It's worth inspecting them regularly to spot any sign of wear or damage.
If you notice play, strange noises or the pedal is hard to turn, the bearings are probably worn and need replacing. These are the steps to maintain them:
- 011. Inspect the bearings. First of all, check them visually for signs of wear or damage. Spin the pedals and look out for any play or unusual noise. If you notice a problem, you may need to replace them.
- 022. Clean the bearings. Use a bike-specific solvent and a small brush. Apply the solvent and scrub gently to remove dirt and residue, always following the solvent manufacturer's instructions.
- 033. Lubricate the bearings. Once clean, apply a bike-specific grease or lubricant to the moving parts. This ensures a smooth spin and reduces friction. Use the right amount, as recommended by the manufacturer.
- 044. Replace them if necessary. If the bearings are worn or damaged, they need replacing. Check your bike's owner's manual or see a professional if you're not sure how to do it properly.
Lubricating your bike pedals
Proper lubrication is essential for smooth, efficient pedalling. Follow these steps to lubricate your pedals:
- 011. Clean the pedals. Before applying any lubricant, clean them following the steps above. The surface needs to be free of dirt and residue.
- 022. Apply the lubricant. A small amount of bike-specific lubricant on the pivot points and moving parts is all it takes. Don't overdo it, because the excess attracts more dirt and ends up building up.
- 033. Spread the lubricant. Spin the pedals several times to spread it evenly through the bearings and moving parts. This guarantees smooth running and less friction.
- 044. Wipe off the excess. Run a clean rag over the surface to remove leftover lubricant. Too much lubricant collects dirt and costs you performance.
Lubricate your pedals regularly, especially after cleaning them or when noises or creaks appear.
Inspecting mountain bike pedals
Regular inspection is key to spotting any problem or wear before it turns into something bigger. These are the things worth checking:
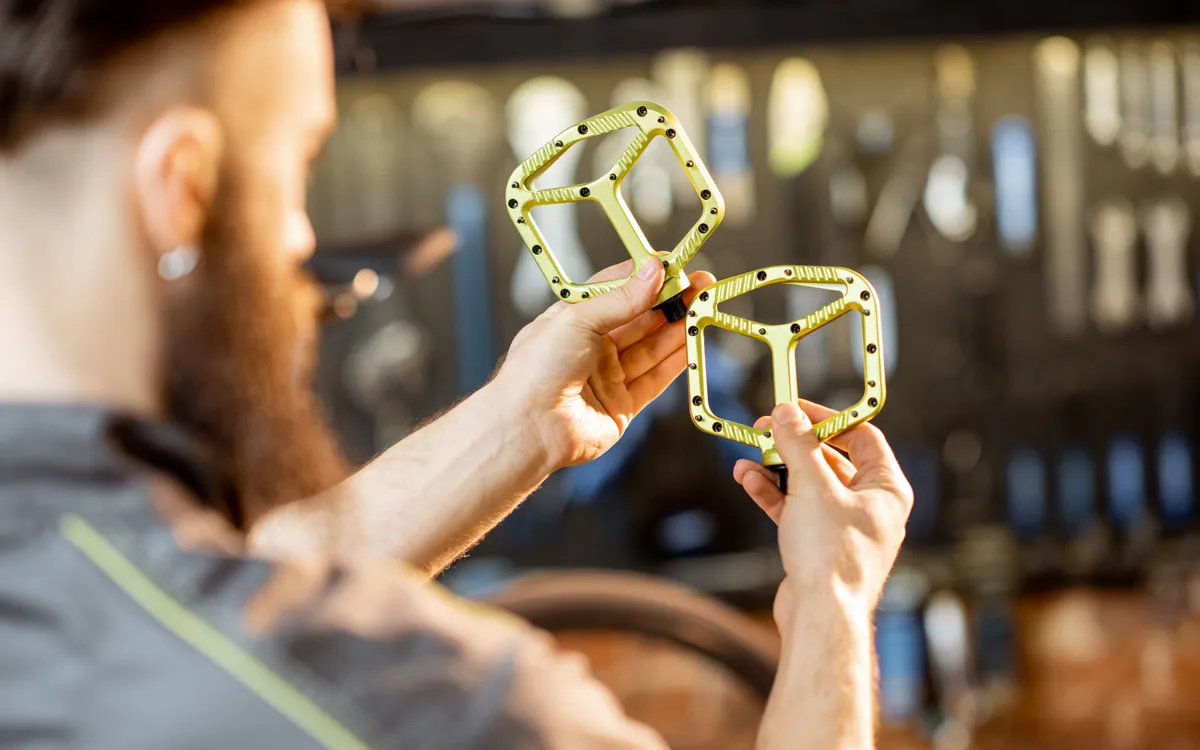
- 01Surface wear. Check the wear on the pedal surface, especially where your shoe sits. If it's badly worn, it may be time to change the pedals.
- 02Grip pins. If they're worn, replace them so the pedals keep a good grip and your feet stay put.
- 03Play or looseness. Check the pedals for excessive play. If you notice unusual movement or instability, the bearings may need adjusting or replacing.
- 04Axles and bearings. Look for signs of corrosion, wear or damage. If you find a problem, sort it out straight away to avoid mechanical failure.
- 05Retention system. If you use pedals with a retention system, check that the clamping mechanisms are in good condition and working properly, and that the cleats are securely fixed and not excessively worn.
Replacing worn pedals
If your pedals are worn out and beyond repair, it is time to change them. These are the general steps to replace them:
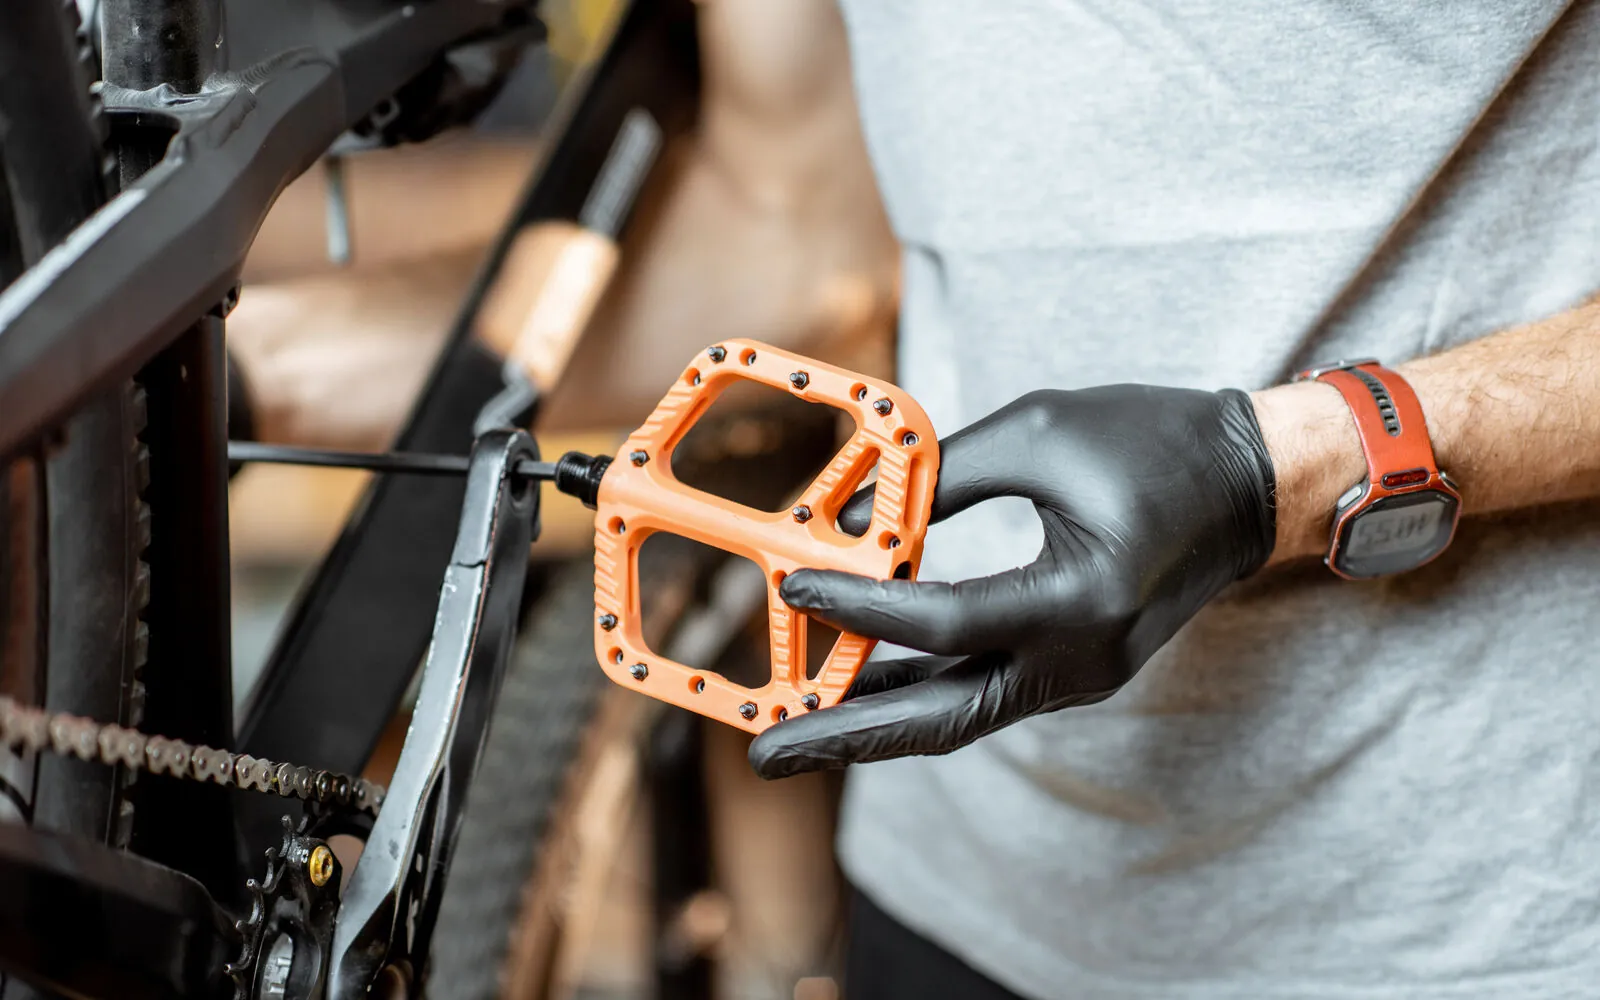
- 01Remove. Take the pedals off the bike with the pedal spanner or Allen key.
- 02Clean. Clean the surface and the crank arm threads before fitting the new pedals.
- 03Choose wisely. Pick pedals that are compatible with your type of bike and the way you ride.
- 04Fit to the manufacturer's instructions. Follow their instructions to fit the new pedals properly.
Clipless pedal maintenance
Clipless pedals have a more complex design, so they need a little more maintenance. These are the key points:
- 01Cleats and mechanism. Regularly clean the cleats and the engagement mechanisms so they clip in and release properly.
- 02Bolts. Check they're properly tightened and tighten them if needed.
- 03Springs and moving parts. Check the springs and moving parts for possible wear or damage.
How to change bike pedals
To change your pedals you need an open-ended or adjustable spanner, a hex or Allen key and a bike-specific grease or lubricant.
Set the bike up on a flat, safe surface with good lighting and, ideally, on a stand. Then follow these steps:
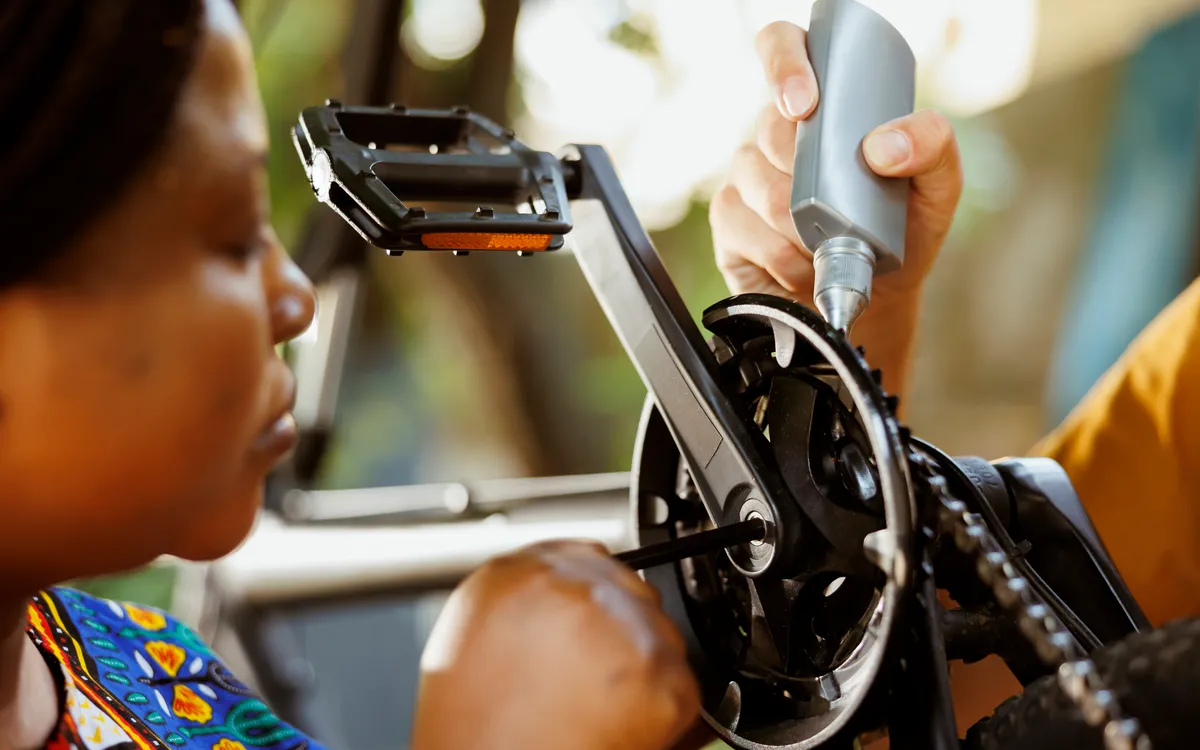
- 01Remove the old pedals. Loosen each pedal at its base with the spanner and unscrew it, bearing in mind that the left one has a reverse thread.
- 02Prepare the threads. With the pedals off, clean and grease the crank arm threads to make fitting the new ones easier.
- 03Fit the new ones. Put the correct pedal on each side (L on the left, R on the right) and tighten it securely with the matching spanner or key.
- 04Check. Make sure the new pedals are securely fitted with no loose movement at all.
Frequently asked questions
It depends on how much you ride and the conditions. As a general rule, it's recommended to clean and lubricate them at least once a month, or after every ride in extreme conditions, such as mud or water.
It's not recommended. Bike-specific grease is designed to withstand the conditions and loads that pedals are exposed to. The wrong grease can cost you performance and durability.
Yes: an Allen key of the right size to remove the pedals. Plus a bike cleaner, a soft-bristled brush and a bike-specific grease or lubricant.
Pedals usually have a long lifespan. But if you notice heavy wear on the surface, problems with how they work or structural damage, consider changing them. A professional can best assess their condition and advise you.
A bike-specific one is better: it's designed for the particular conditions and loads that mountain bike pedals are put through, and it ensures optimal, longer-lasting performance.
It varies with use and conditions, but generally it's recommended to replace them every 1-2 years or when they show signs of wear.
If you have bike mechanics experience and the right tools, you can give it a go. If you don't feel confident, it's better to go to a specialist workshop.
You can adjust the spring tension to control how easy it is to clip in and out. Use an Allen key on the adjustment screw on the pedal body: more tension, a firmer hold; less tension, an easier release.
For basic maintenance, in most cases you don't need to remove them completely. To replace bearings or other internal parts, you do. If you don't feel comfortable doing it, go to a bike workshop.
A bike-specific one and, even better, one made for pedals. A Teflon- or silicone-based lubricant is ideal for a smooth spin and less bearing wear. Avoid heavy oils or greases that collect dirt and cost you performance.
Three things: check it's properly fitted and tightened with the right force, apply thread locker to the bolts to stop them coming loose, and check how tight it is from time to time.
Wear shoes with non-slip rubber soles, choose pedals with replaceable pins so you can adjust their height and grip, and keep them clear of mud and debris so the sole makes better contact.
Check that they're properly tightened into the crank arms with no play, that the bearings are lubricated and free of wear and dirt, and that the pins on flat pedals are firm. If the noise persists, remove the pedals and check the internal parts for damage or wear.
Remove the mud and heavy dirt with a pressure washer or a brush, use a specific cleaner and a soft brush for stubborn dirt, rinse well with clean water, dry them completely and lubricate the bearings and moving parts.
Pins wear down with use and contact with hard surfaces. When they're worn or damaged, replace them to keep your grip and safety. They're usually replaceable and sold as spares in bike shops.
The most common: excessive play or looseness in the pedals, noises or creaking when pedalling and a feeling of friction or resistance when you spin them. If you notice any of these, it's time for maintenance or new bearings.